“Hair Is Such A Powerful Medium For Self-expression” – Laura Chadwick and Elisabeth Hoff Discuss Their First Creative Collaboration
“Hair Is Such A Powerful Medium For Self-expression” – Laura Chadwick and Elisabeth Hoff Discuss Their First Creative Collaboration
From Instagram DMs to creative collaboration IRL, hairstylist Laura Chadwick and photographer Elisabeth Hoff shall all about their first shoot together.
by | CREATIVE PROJECTS

Laura Chadwick

Elisabeth Hoff
How did the shoot collaboration come about – have you both worked together previously?
Laura: I’ve admired Elisabeth’s work for a long time, so when I decided to reach out to her on Instagram, I was thrilled she was interested in collaborating. We started discussing ideas, and I was immediately drawn to her creativity and vision. We had plans initially, but Covid interrupted them. Fortunately, we reconnected earlier this year and decided to finally bring our ideas to life. This was our first time working together, but Elisabeth’s dedication and attention to detail made the process seamless and inspiring.
Elisabeth: I have followed Laura’s work for several years. I love her style and her creativity. I can see she is a creative grafter, and I was not wrong. Her dedication to what she does on the day was impressive.
What was the inspiration behind the theme of ‘emotive hair’, and what made you decide to capture the connection between hair and human emotion?
L: Elisabeth’s concept of linking hair with emotions really resonated with me. Hair is such a powerful medium for self-expression. The idea of using hairstyles to represent joy, sorrow, anger, and fear felt like a natural way to visually communicate these universal emotions. Our hair can significantly impact our confidence and how we feel about ourselves, so capturing that connection was both a challenge and a delight. Each style aimed to embody an emotion, highlighting how our outward appearance can reflect our inner states.
E: Like it or not, we humans are ruled by our emotions. The inspiration behind the series ‘emotive hair’ comes from the profound impact emotions have on our daily lives and how they are expressed through our hair. We chose to focus on the four core emotions of joy, sorrow, anger, and fear because they are universal experiences that everyone can relate to.
Each hairstyle in this series was crafted to represent an emotion. We have tried to capture the essence of what it feels like to experience joy, sorrow, anger, or fear through the hair. By doing so, I wanted to highlight the close connection between our inner emotional states and our outward appearance. Through the series, I hope to encourage the viewer to reflect on their own emotional experiences and the subtle ways they express them through their style. It also shows how changing our look can change our mood.
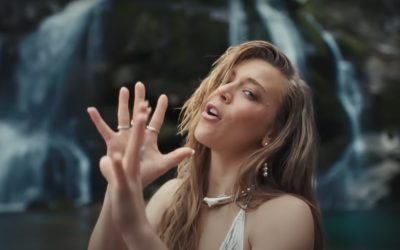
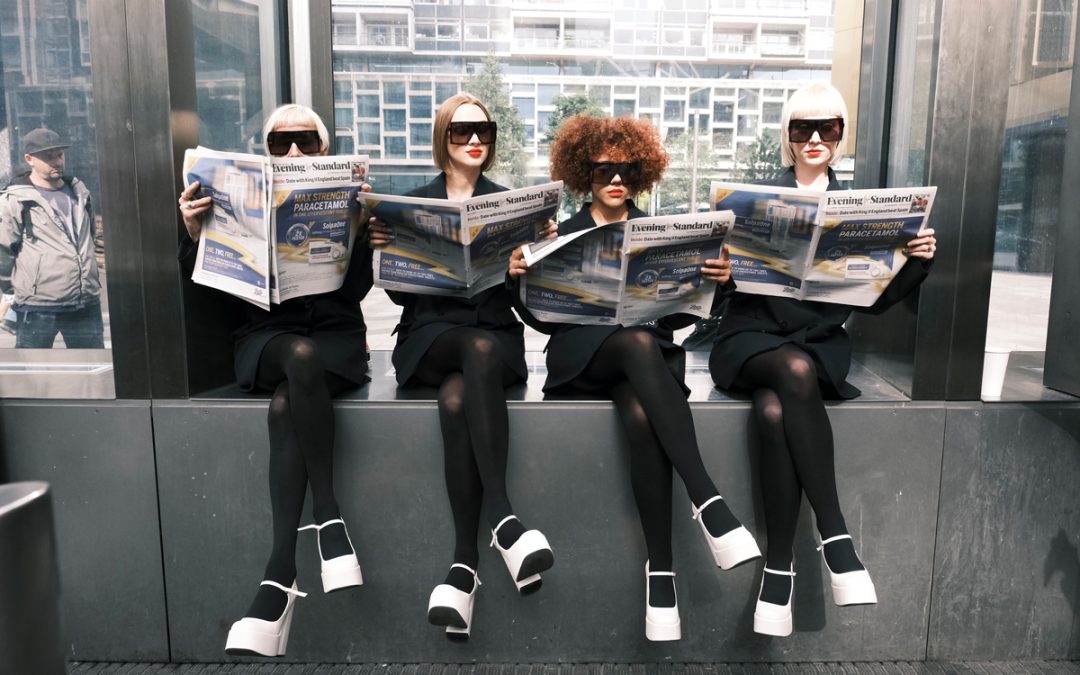
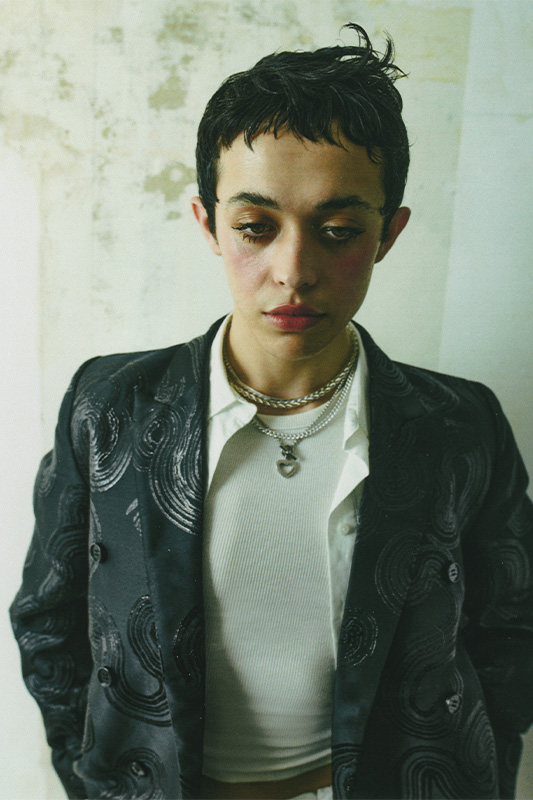
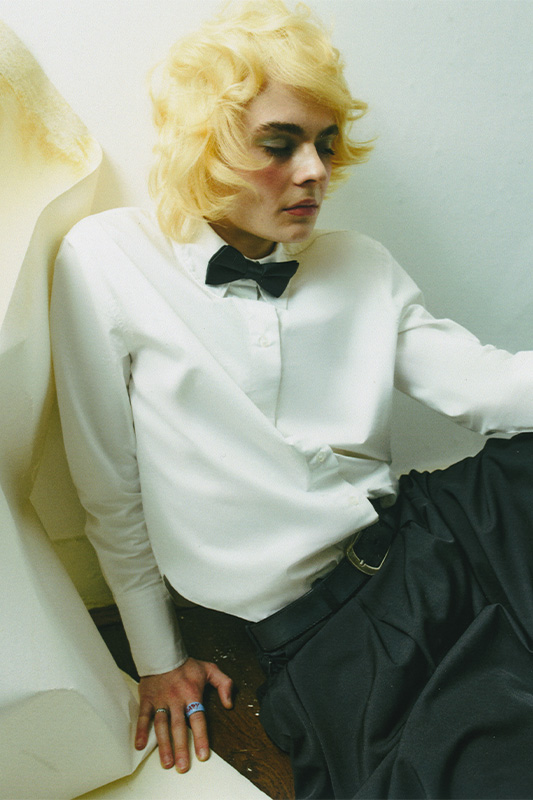
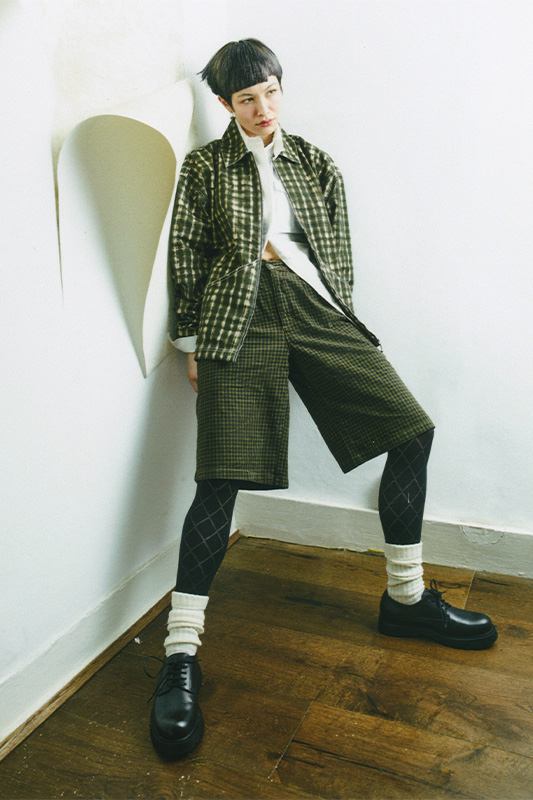
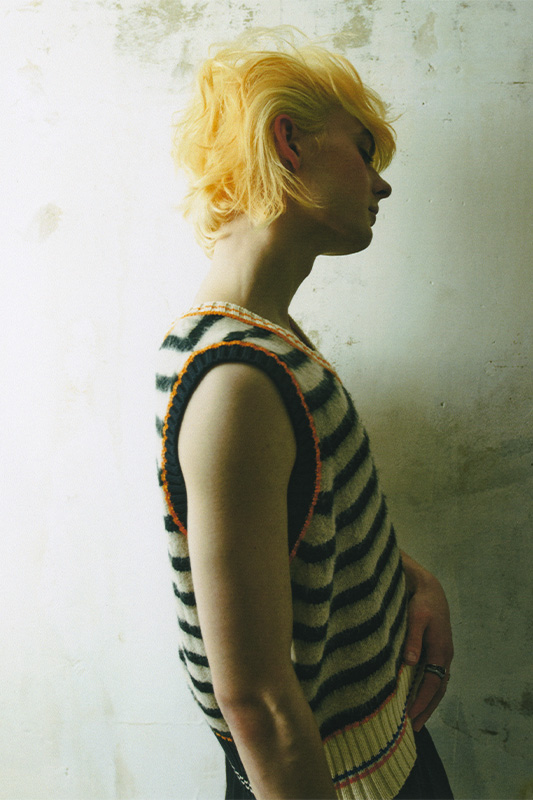
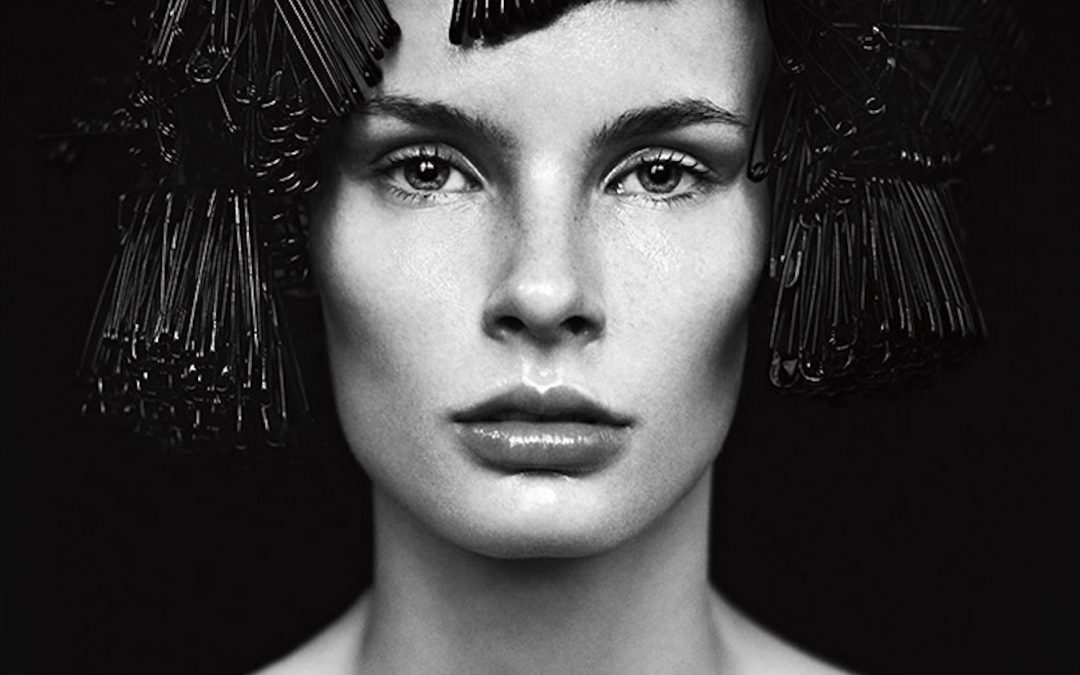
Joy
Why did you choose those particular hair looks captured?
L: When I came across Paul Ekman’s work on the four core emotions, it clicked that these could form the foundation for our shoot. The universality of joy, sorrow, anger, and fear made them the perfect choices to explore through hair. Given our limited time, focusing on four distinct looks was both realistic and impactful, allowing us to delve deeply into each emotion and create a cohesive narrative.
E: When Laura discovered the work of psychologist Paul Ekman, who identified these four universal emotions, it reinforced the idea that building a shoot around them could be impactful. We also only had one day for the shoot, and we knew we could realistically achieve four distinct looks in one day. This approach allowed us to create a strong, cohesive series with what is hopefully a compelling story behind each emotion.

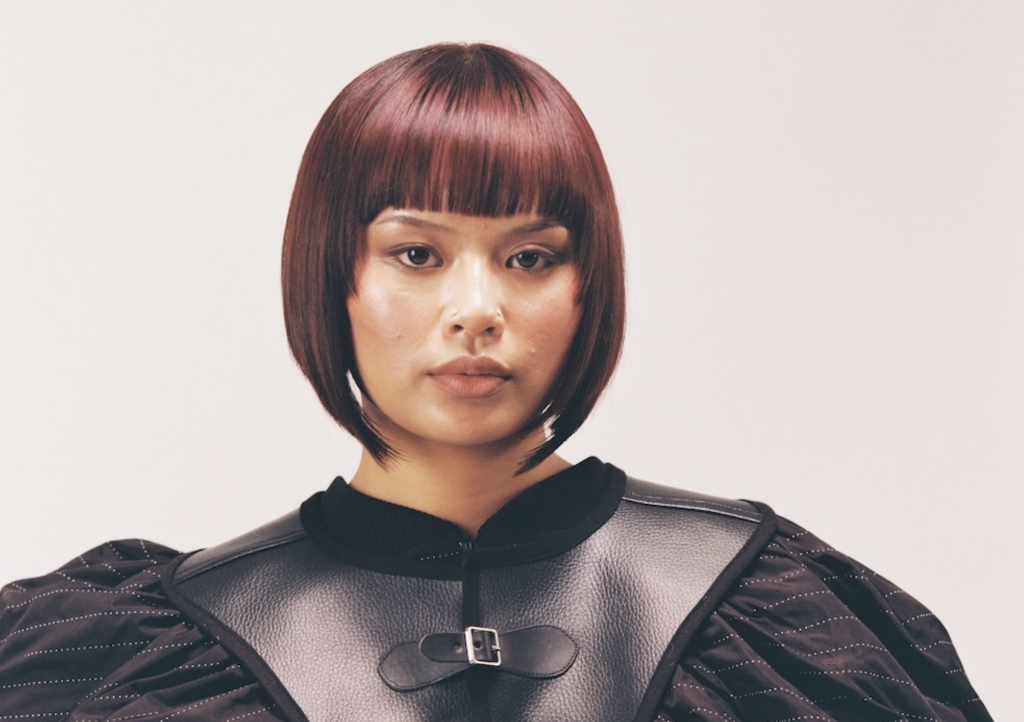
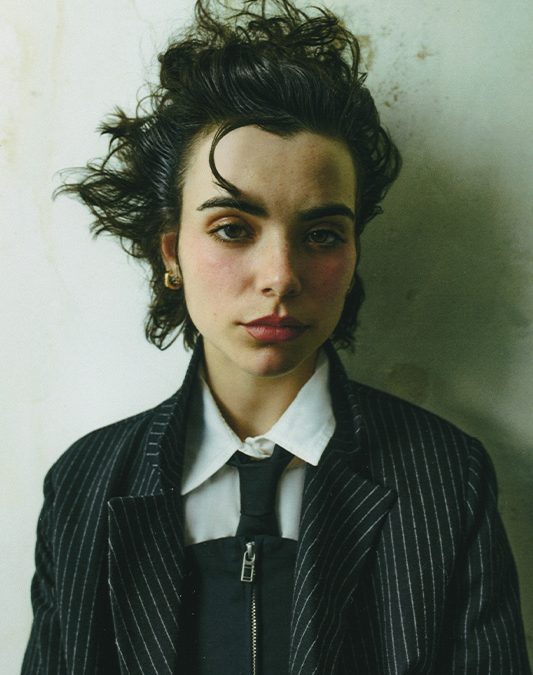
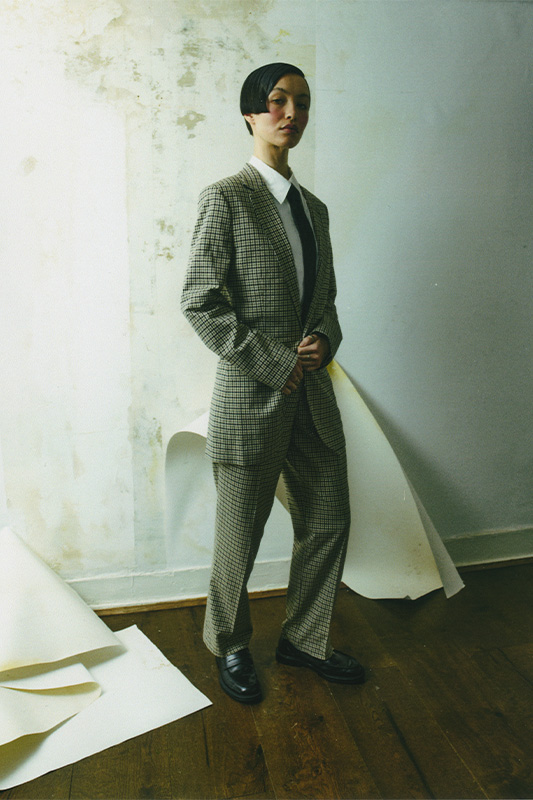
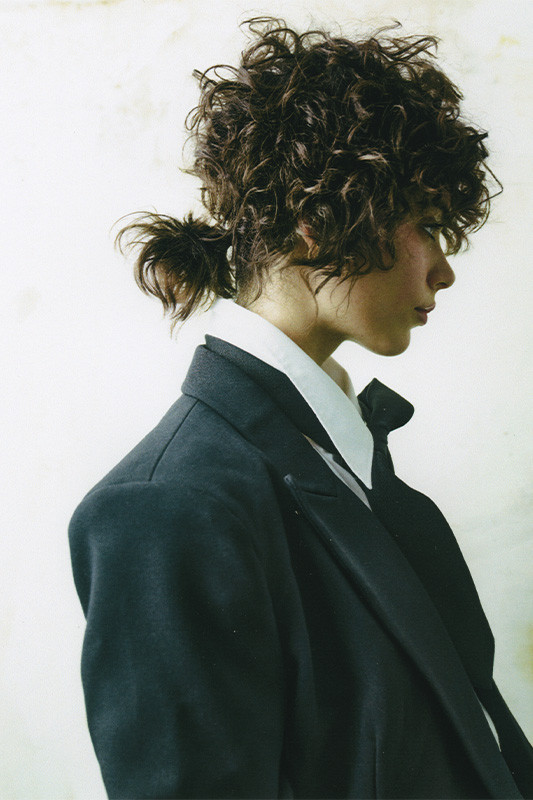
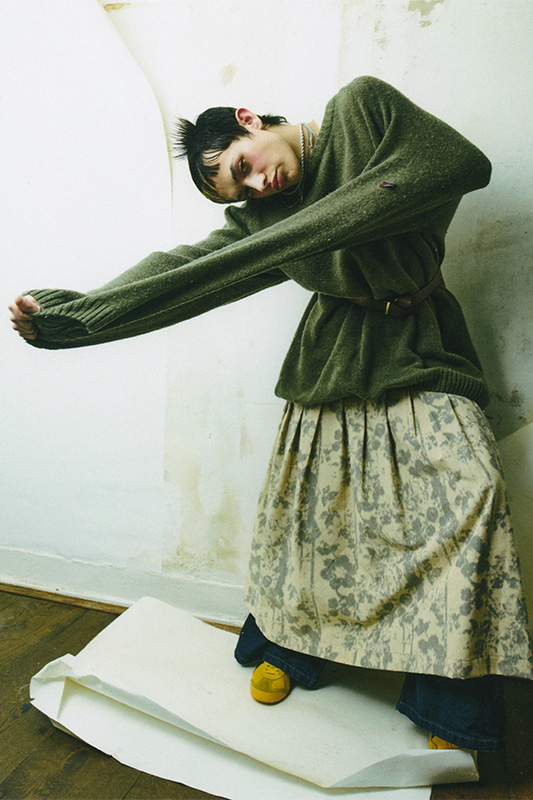
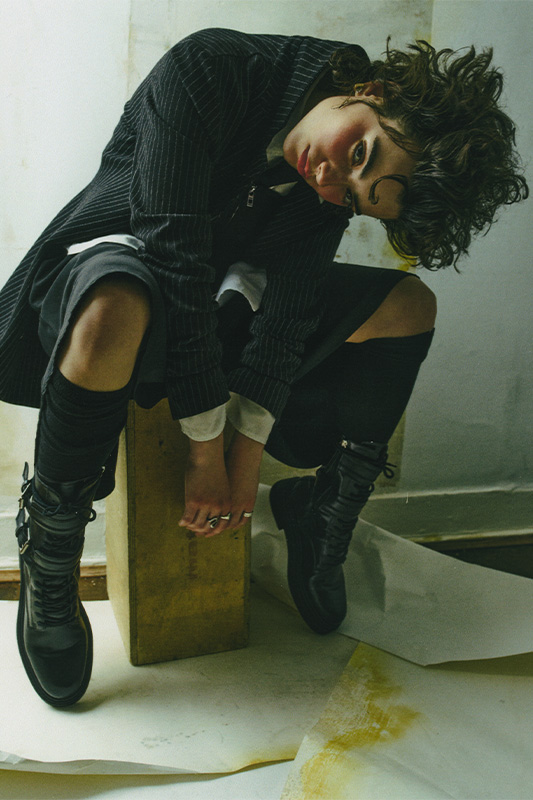
Sorrow

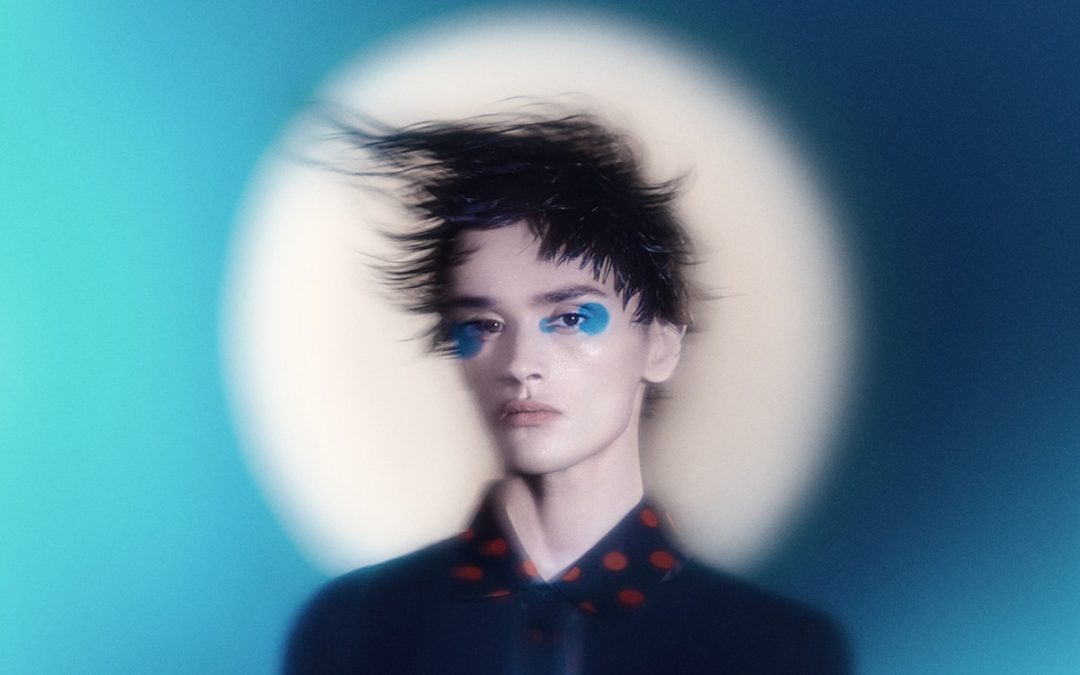
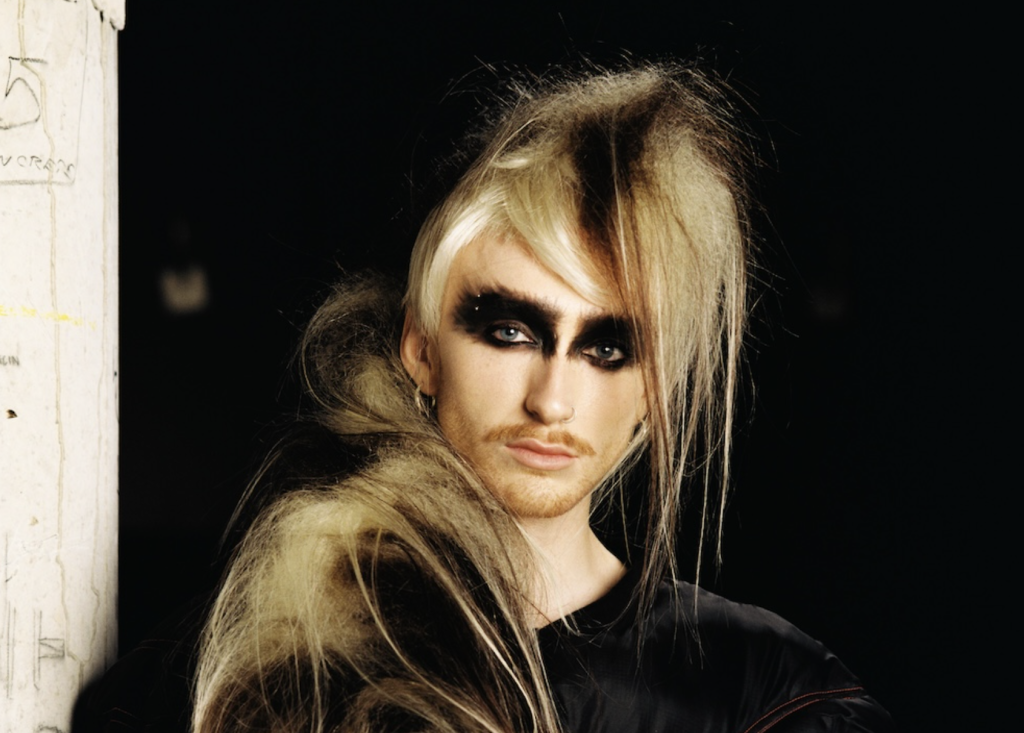
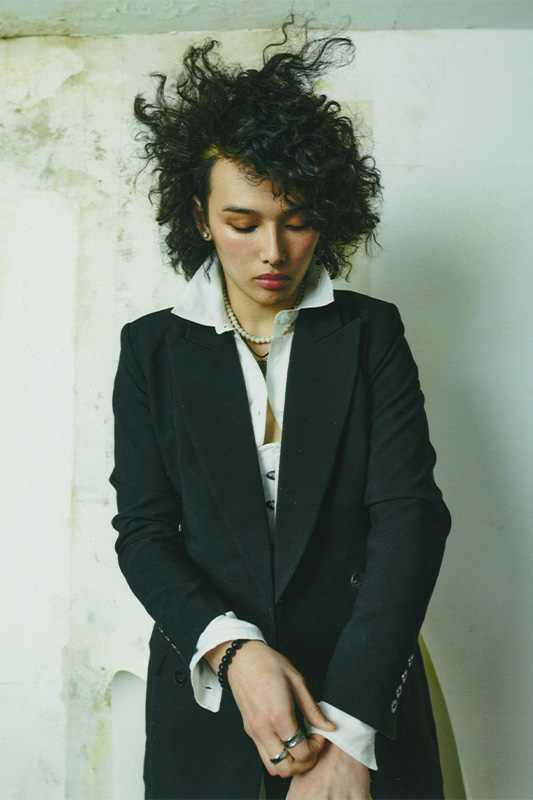
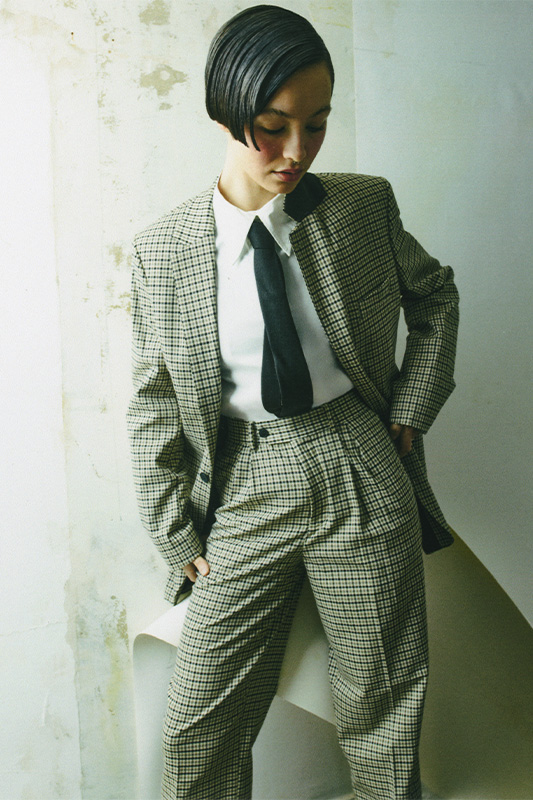
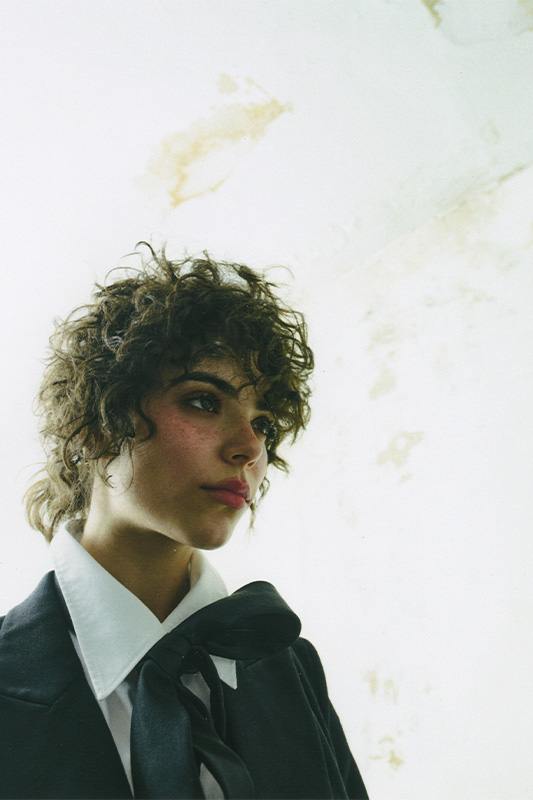
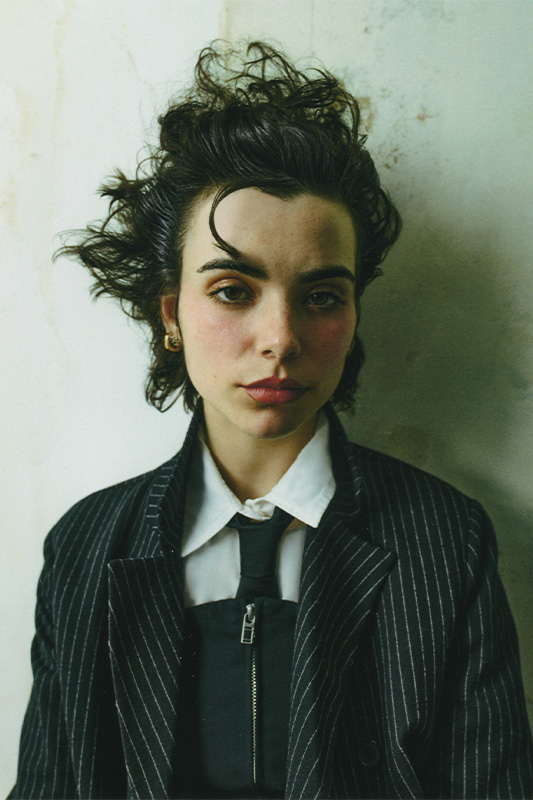
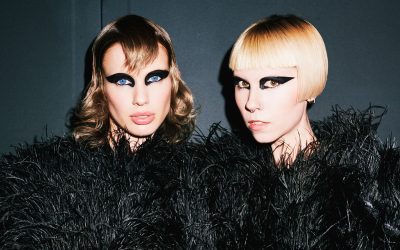
Fear
What did prep for each of the looks entail? Talk us through any key techniques and products
L: Creating each look required meticulous planning and a selection of techniques and products to embody the emotions we wanted to convey. Here’s a breakdown of each look:
Sorrow:
Inspiration: We aimed to capture a melancholic and delicate aesthetic. The look needed to evoke a sense of softness and vulnerability.
Techniques: To achieve this, I started by creating smooth, sleek hair that framed the face, using a straightening iron to eliminate any frizz and create a polished finish. The ends were kept slightly damp to add a touch of natural, undone texture, symbolising the weight of sorrow.
Products: I used a smoothing serum to ensure the hair remained sleek and frizz-free. A light-hold gel was applied to the damp ends to maintain the soft, wet look without making the hair too stiff.
Fear:
Inspiration: We wanted a look that felt chaotic and intense, reflecting the inner turmoil associated with this emotion.
Techniques: Lots of volume was added to create a wild, frizzy texture. I backcombed sections and used a diffuser while blow-drying to enhance the natural curl and frizz. The aim was to make the hair appear as though it was standing on end, mirroring the feeling of fear.
Products: I used a volumising mousse at the roots to create lift, followed by a texturising spray to add grit and hold. A strong-hold hairspray was essential to keep the volume and frizz intact throughout the shoot.
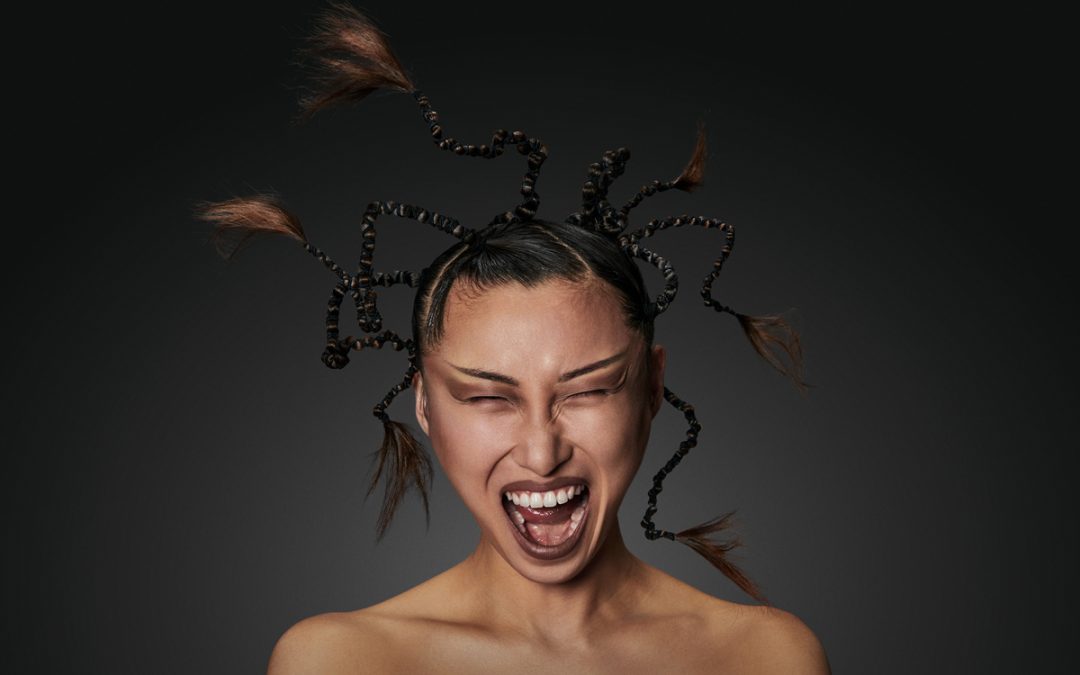
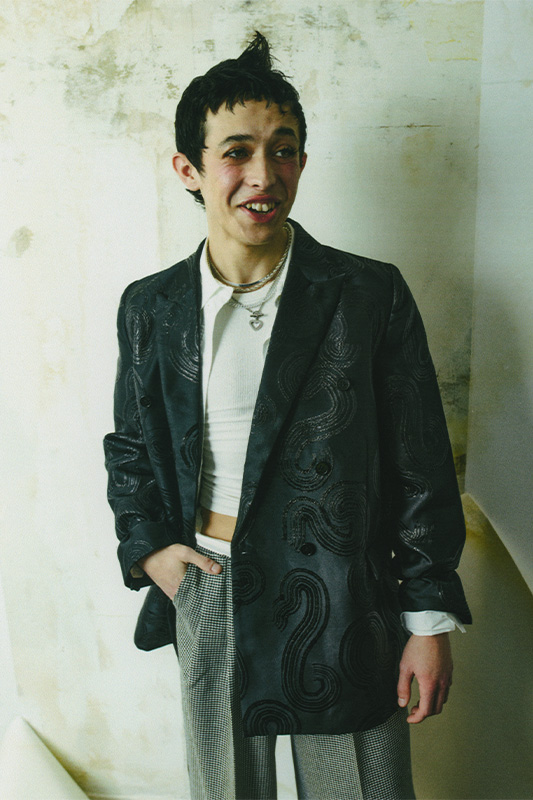
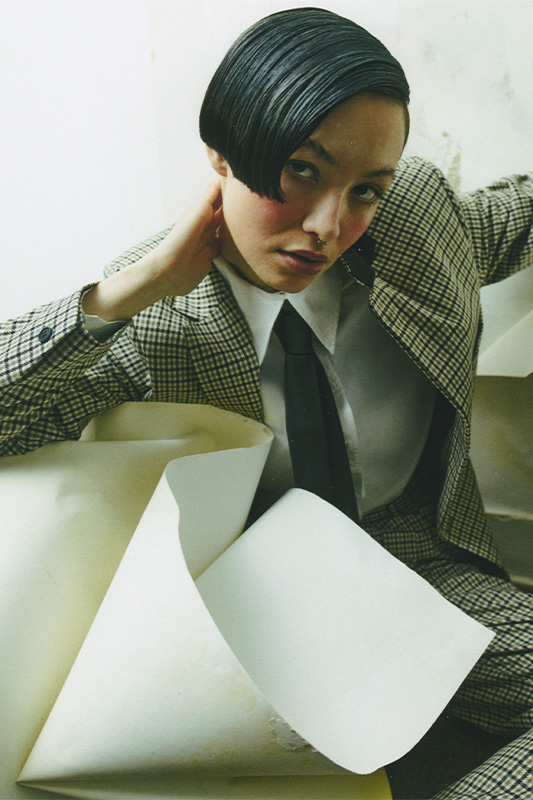
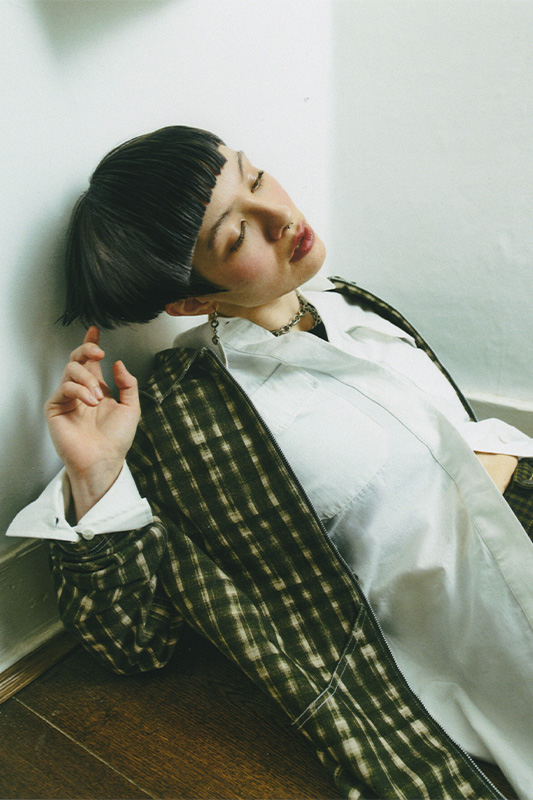
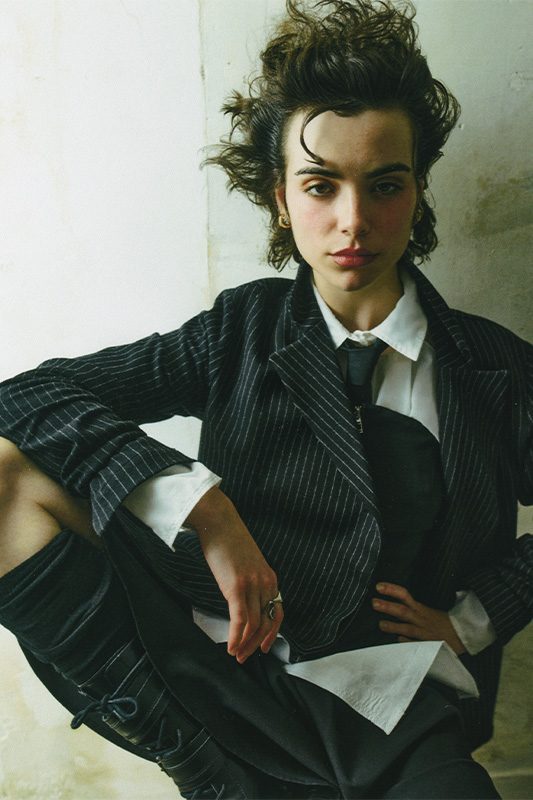
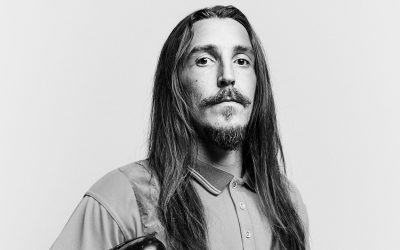
Anger:
Inspiration: It needed to be depicted with a fierce and striking hairstyle that showed intensity and aggression.
Techniques: I chose to work with sharp, angular shapes and tight braids to create a look that was structured and powerful. The hair was sectioned into small parts and braided tightly then wrapped with elastic, before styling into an upward, spiky formation to add a sense of dynamism and tension.
Products: A strong-hold gel was used to keep the braids neat and in place. I also used edge control to smooth down any fly-aways and ensure the look remained sharp and defined. For the spikes, I employed a hair wax to mould and shape the braids, followed by a generous amount of hairspray for maximum hold.
Joy:
Inspiration: The goal was to convey a sense of lightness, playfulness, and exuberance. Joyful hair needed to radiate positivity and energy, which bouncy waves with volume naturally provide.
Techniques: I started by washing the hair and applying a volumising mousse to the roots while it was still damp. After blow-drying with a round brush to lift the roots and add volume, I used a large-barrel curling iron to create loose, bouncy waves. Each section of hair was wrapped around the curling iron for a few seconds, and then released to form soft curls. Once the entire head was curled, I gently brushed through the curls with a wide-tooth comb to create a more relaxed, wavy texture and enhance the volume.
Products: For the lift and fullness, a volumising mousse was key, along with a texturizing spray to add grip and enhance the texture of the waves. A shine serum was also Applied sparingly to add a touch of shine and keep the hair looking healthy and vibrant.
Anger
As two fellow creatives, how imperative is it to collaborate with other creatives? For any hair pros who might be on the fence about reaching out to photographers, make-up artists, and so on to collaborate, what is your advice?
L: Collaboration is vital in our field. Working with other creatives brings fresh perspectives and skills that can elevate your work. My advice to hair professionals hesitant about reaching out is to take the leap. Find collaborators who respect and understand your vision and be clear about your goals and expectations. Embrace the creative process (including the possibility of failure) as it’s an essential part of growth. Every successful creative journey involves risks and mistakes, but those experiences can lead to extraordinary outcomes and innovations.
E: I believe in following your creative gut—if you have an idea, it’s there for a reason, and you should follow it with determination. Often, the universe provides the answers or brings the right people into your path to collaborate with, as it did during this shoot.
Although it is a collaboration, it’s important to stay true to your original vision. Allow others to contribute without diluting the core concept, as too many voices can often muddy the original idea. Finding collaborators who understand and align with your vision is key, as is communicating that vision.
Photography: Elisabeth Hoff
Hair: Laura Chadwick
Make-up: Czar Joshua Ventura
Production: Holly Charlton at Hoff Productions Ltd.
Models: Joy – Kelly Brennan @ Mrs Robinson Management, Sorrow – Gemma Seymour @ The Milk collective, Anger – Kwan Jo @ Wilhelmina, Fear – Alexandra Beaton


 The Motif Magazine Photographer Casper Wackerhausen-Sejersen")
 Vogue Scandi Photographer Gregory Harris")
 The Last Magazine Photographer Nathaniel Goldberg")

 Vogue Scandi Photographer Gregory Harris")
 The Last Magazine Photographer Nathaniel Goldberg")
 The Motif Magazine Photographer Casper Wackerhausen-Sejersen")


 The Last Magazine Photographer Nathaniel Goldberg")