The Playful Colour Trend To Know For The Season Ahead
The Playful Colour Trend To Know For The Season Ahead
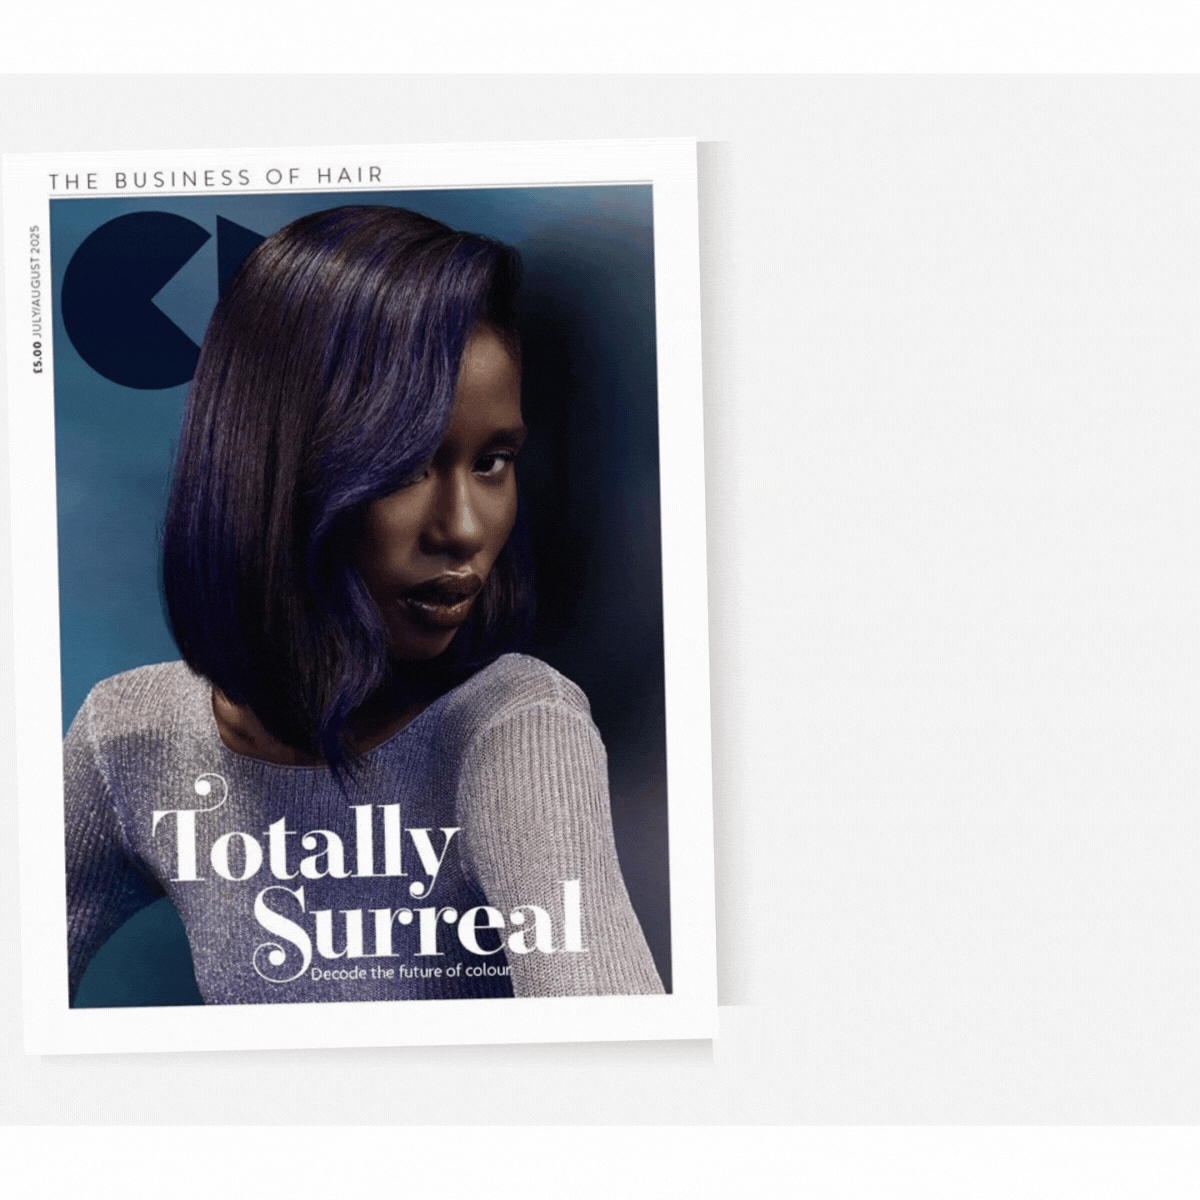
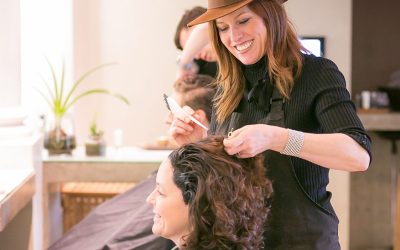
Charlotte O’Flanagan shares how to paint the perfect pastel Tones
by KELSEY | EXPLORE

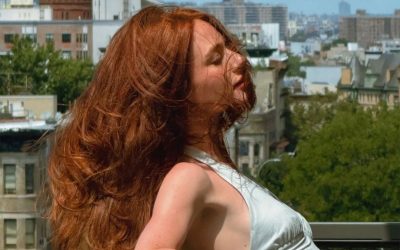
With spring officially upon us, it heralds the perfect opportunity for clients to get playful with pastel tones and experiment with a new look, especially if they are attending festivals, special occasions or off on a trip abroad.
Known for her creative colour, including blush pink, cowboy copper and sweet peach, Charlotte O’Flanagan (Charlotte Paints Hair on Instagram) shares how to deliver the perfect pop of pastel in your salon.
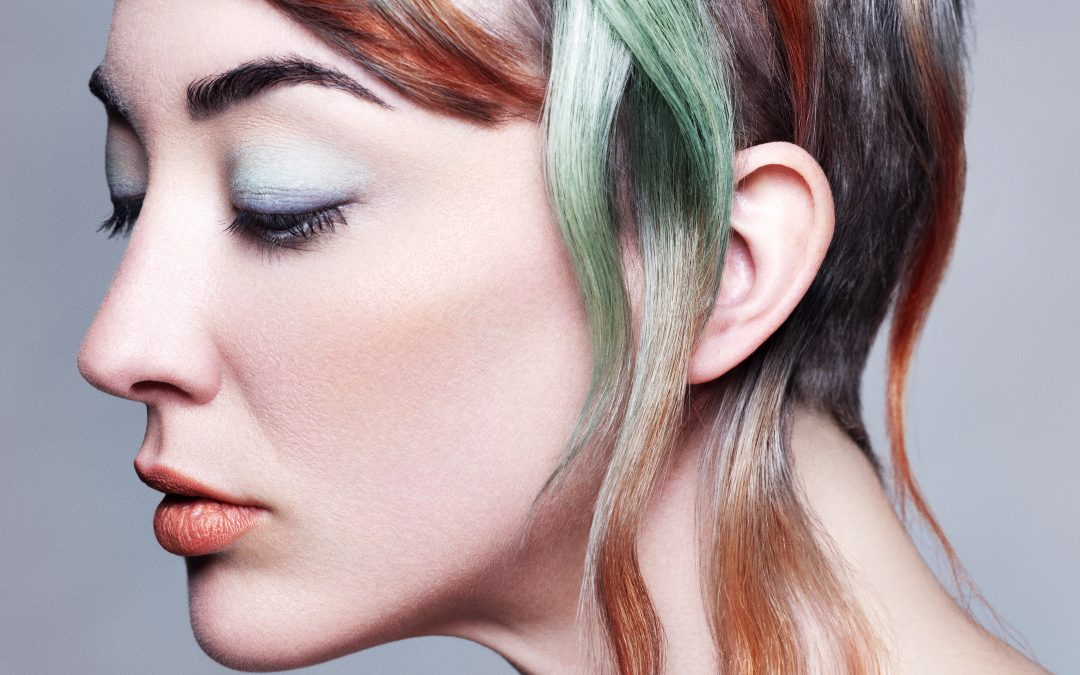
The Formula
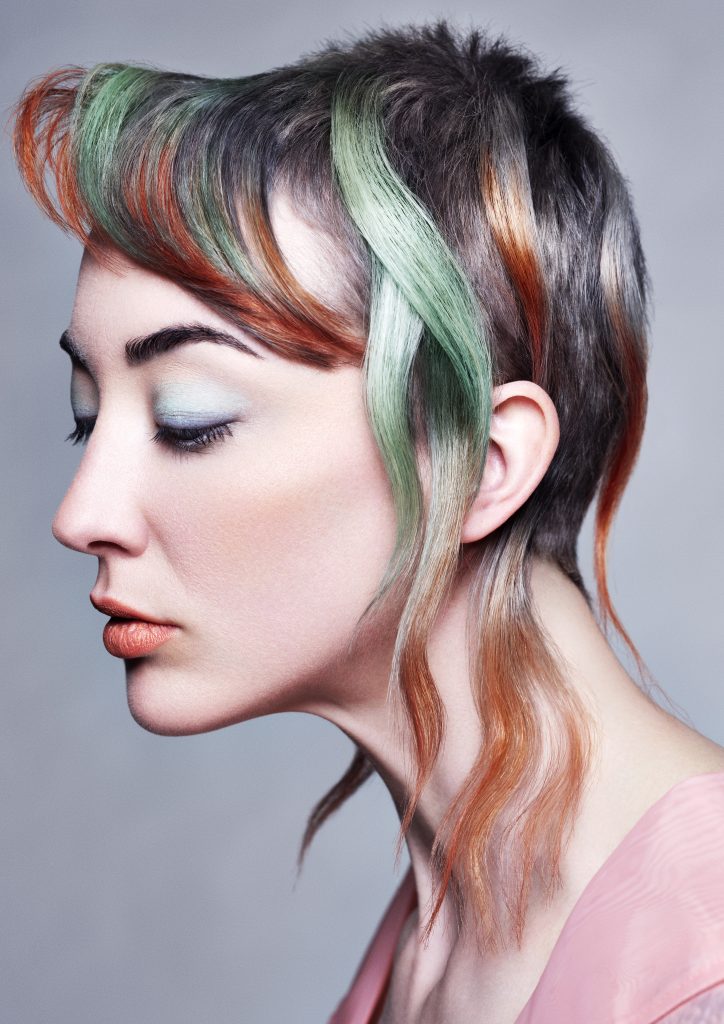
From back of head to face:
- Teal – 1g Jade, 1g Blue, 70g Clear
- Yellow – 1g Neon Yellow, 140g Clear
- Orange – 2g Flame, 0.5g Yellow, 100g Clear
- Lavender – 3g Lavender, 2g Fuchsia, 100g Clear
- Lime – 3g Lime, 100g Clear
- Pink – 1g Fuchsia, 1g Ruby, 100g Clear
The Process
Step one: I pre-lightened the hair using 20vol Progress Davines as a scalp bleach for the 8-week top-up
Step two: I let it develop until the hair reached a pale yellow – light enough to ensure my pastel direct dyes would maintain their vibrancy.
Step three: I then toned with Davines Quartz for a soft, pearly base, creating the perfect canvas for vivid colours.
For application, I worked in diagonal sections, starting with thicker sections at the top and gradually thinning toward the ears, allowing the colours to fall forward and blend naturally.
Each of the six shades was applied at the roots first, then seamlessly blended through to the ends. I made sure that the first and last colours were deeper and more saturated to enhance the melting effect while still maintaining contrast.
")
Why It’s Trending
With festival season approaching, pastel hues provide a fun, creative change with minimal commitment. They fade back to blonde, making them perfect for clients who want a temporary pop of colour or are looking to experiment with a new look.
Who Does It Work For?
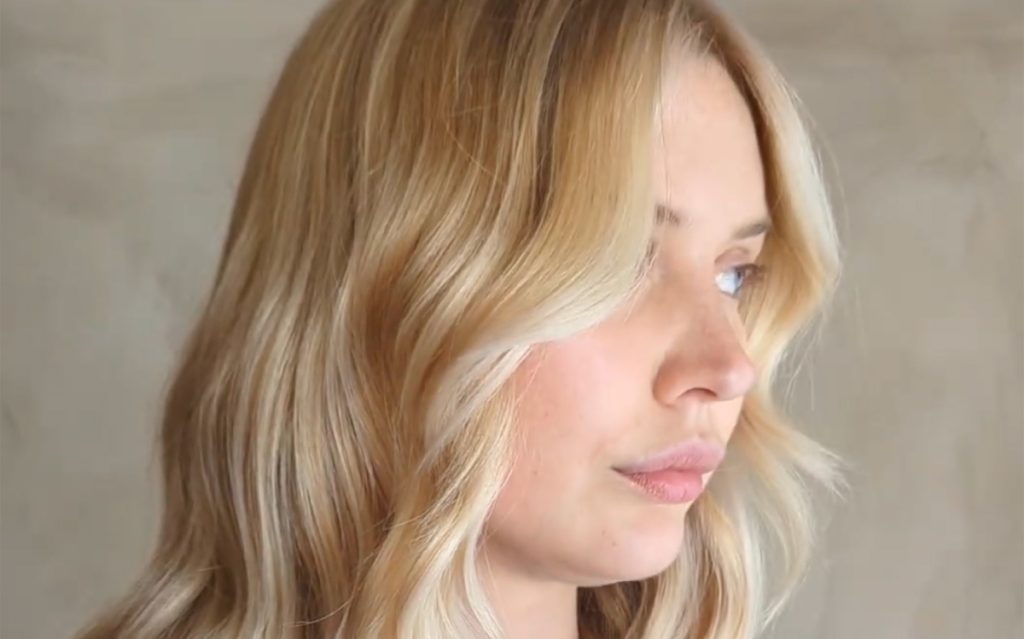
Ideal for blondes wanting to explore something new, pastel tones can be tailored to suit a variety of skin tones. Warm and cool shades can be adjusted accordingly, making this a versatile and playful option for all clients.
Perfect Pairing
For a statement look with delicate balance, a strong, blunt bob just above the shoulders keeps the style fresh, chic and effortlessly head-turning.


")


")


 (1)")