Politics, culture, bygone eras, personal stories… it all meshed and motivated Richard Phillipart to create two arresting looks back in 2018.
GET THE LOOK – HAIR BARCODING FOR KWK BY KAY KWOK S/S24
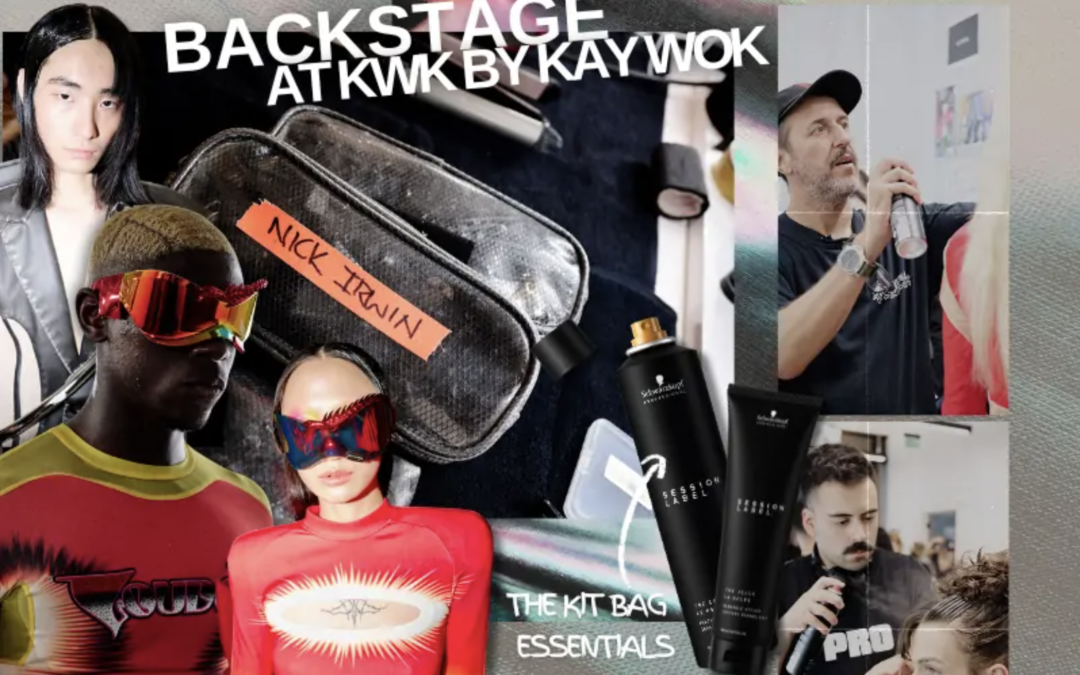
GET THE LOOK – HAIR BARCODING FOR KWK BY KAY KWOK S/S24
The inside spin on session stylist Nick Irwin’s otherworldly look for the futuristic designer.
Kay Kwok is a Hong Kong fashion designer known for his futuristic and contemporary designs. He combines avant-garde fashion with digital influences to create an unconventional aesthetic, perfectly exampled by a 3D-printed custom-made art piece designed for Beyoncé’s Renaissance tour.
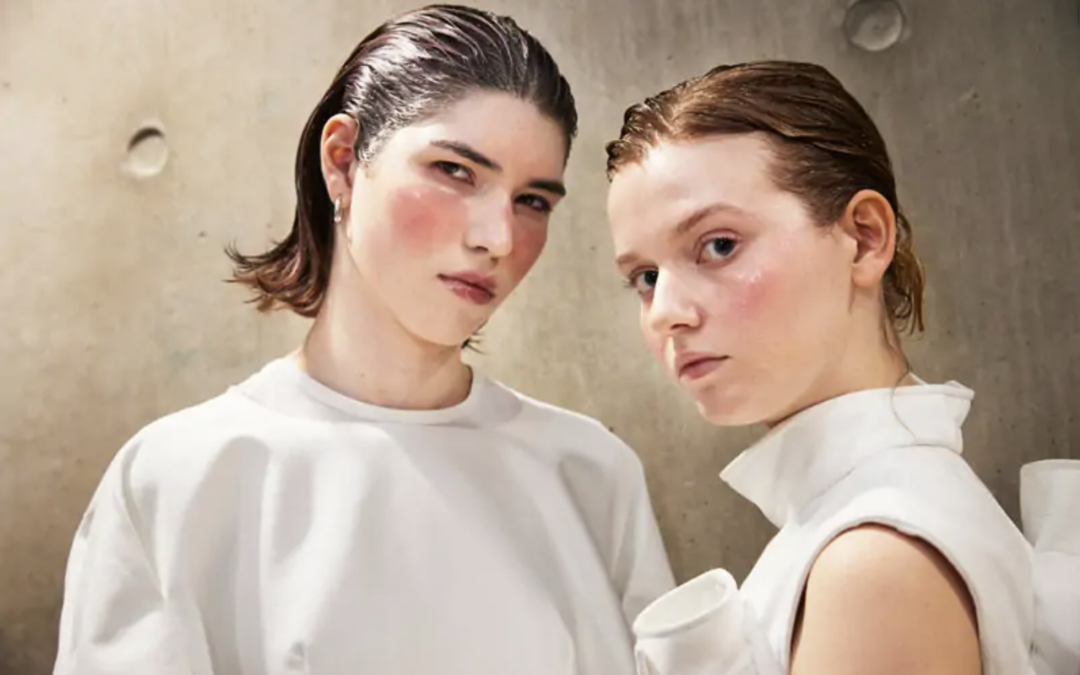
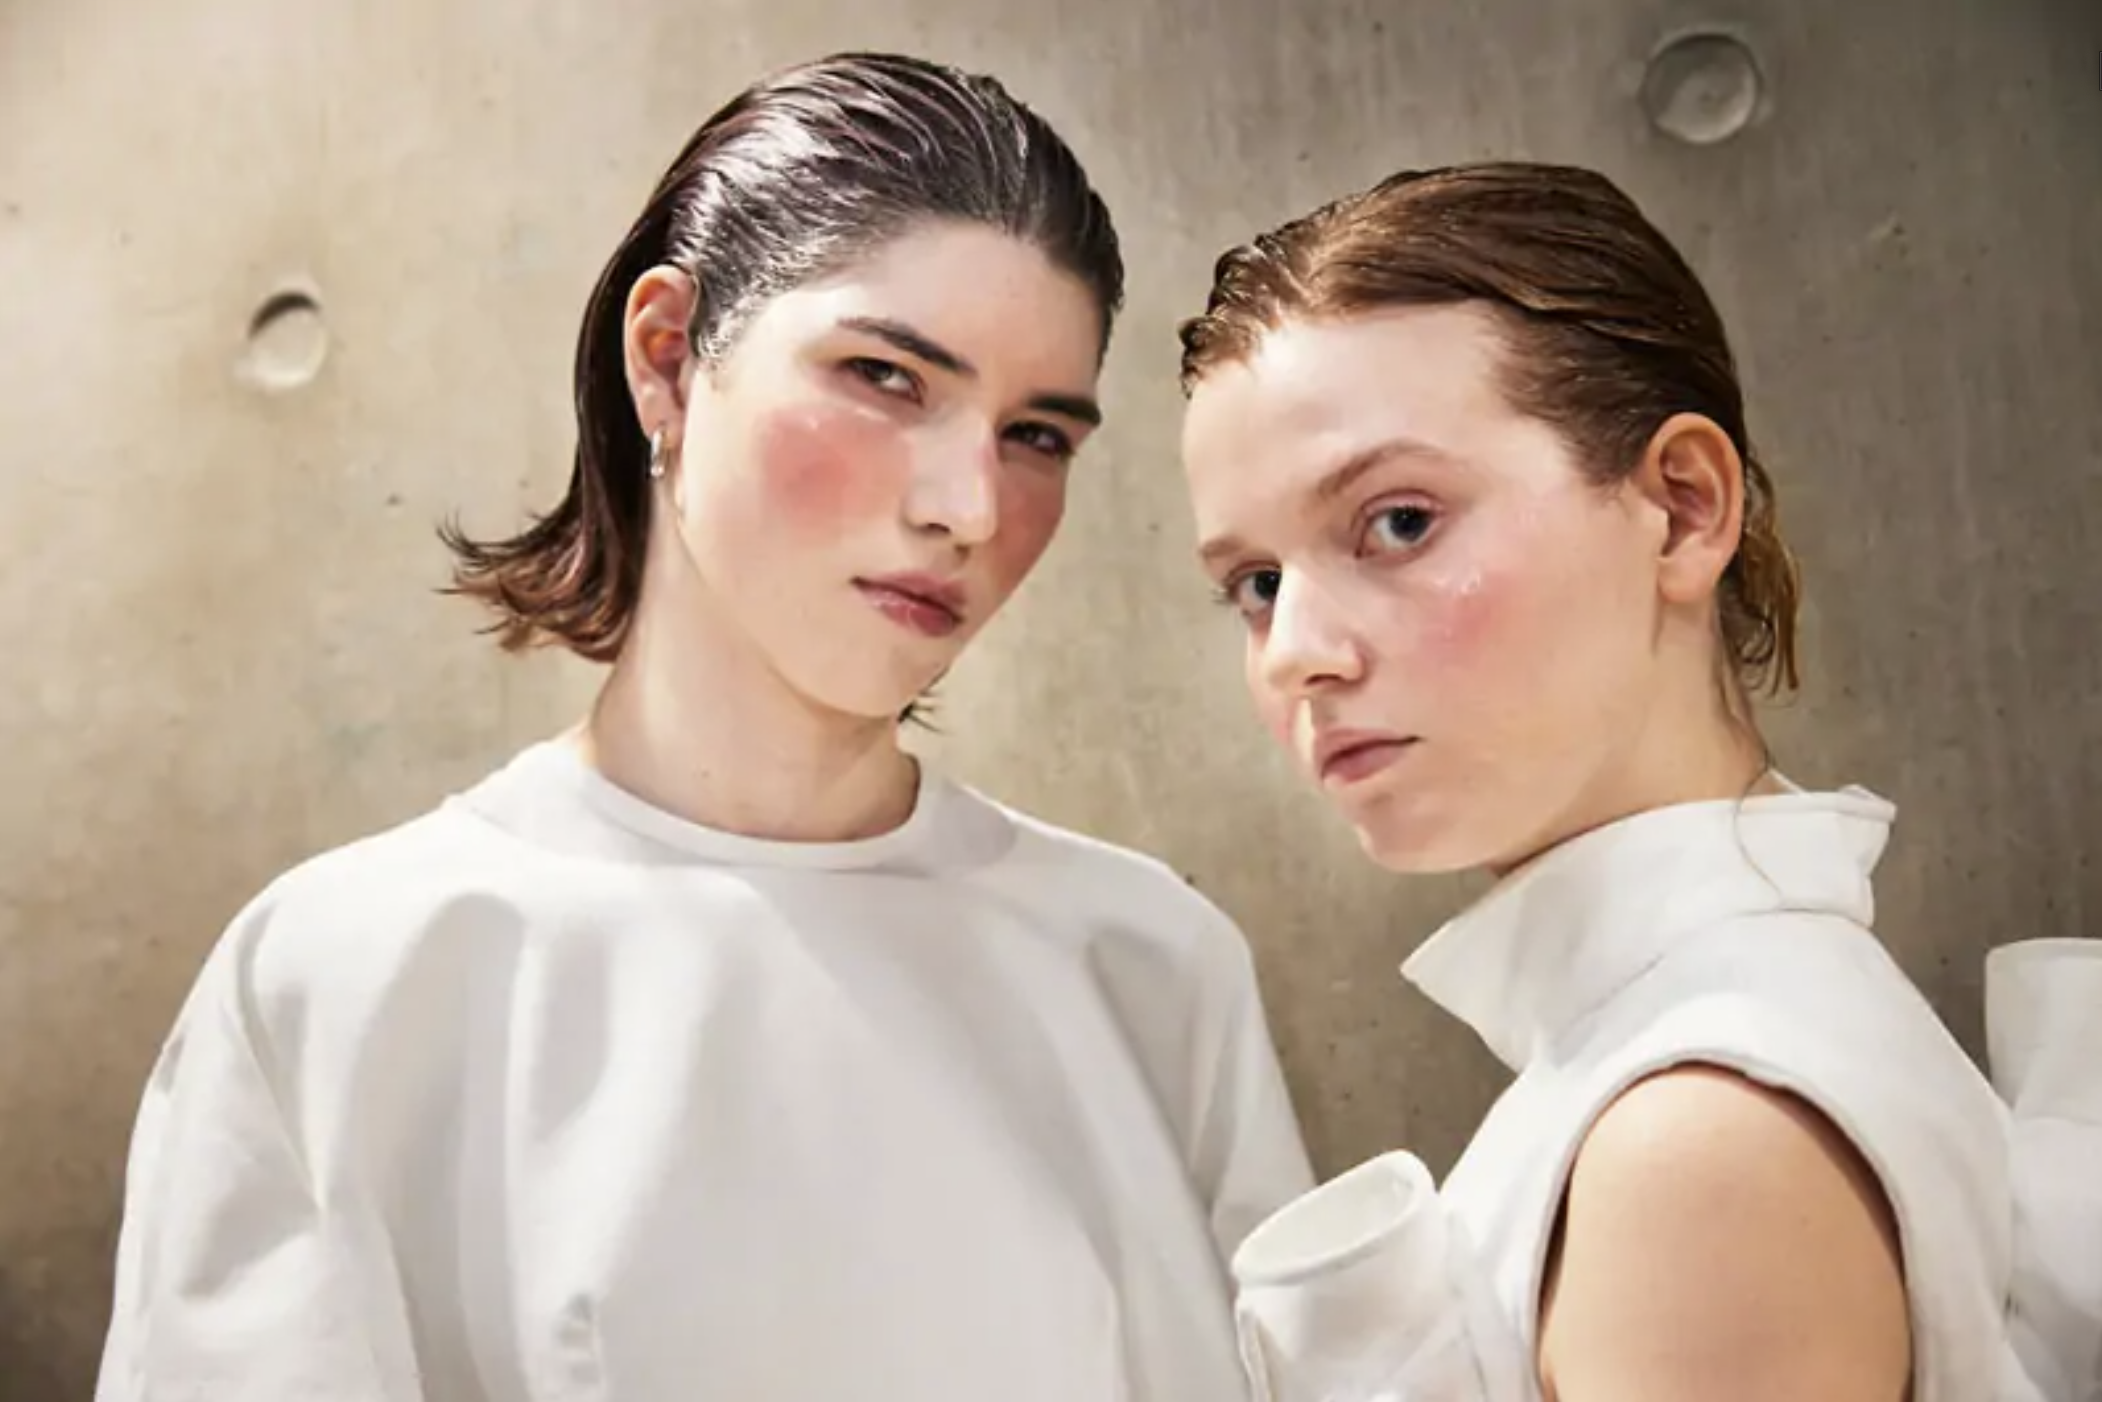
His first time working with Kay Kwok, this season Nick Irwin transported us to another planet with a futuristic hair look centred around the concept of hair barcoding. The idea behind the show was to tap into Kay’s references towards futurism, while also maintaining the individuality of each model. With this in mind, Nick and his team were able to craft an almost barcode-like effect using a gelled strip placed in certain areas of each model’s hair.

The Session Label hero products
The Jelly
“We’ve set the hair with a great product called The Jelly, which gives you a glossy, almost plastic, futuristic feel with the finish. It’s a lightweight gel that you can comb and manipulate the hair with.”
The Coat
“The Coat is a super, super light shine spray. If you use lots of it and spray close to the head, it makes the hair super glossy. We’ve used that with a wide-tooth comb over the surface to a give an almost barcode-like feel to the hair.”
The Strong
“To make the hair hold in the area we’ve added the gel strip, we use The Strong – a super strong hold hairspray.”

Related

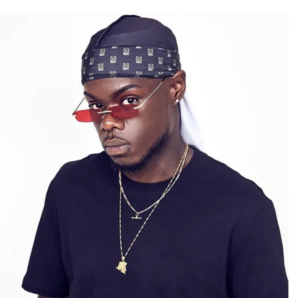
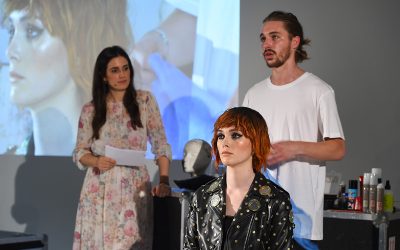
Gorgeously Gritty, Inspiring Vision And Flawless Skill From Richard Phillipart

The Revolutionary Rick-Rack Curl
Home-made jumbo setting pins, smooth moves, and a watchful eye – respect the technique, as Lauren Bell aces rick-rack texture for The Coterie: In Session crowd back in 2021.
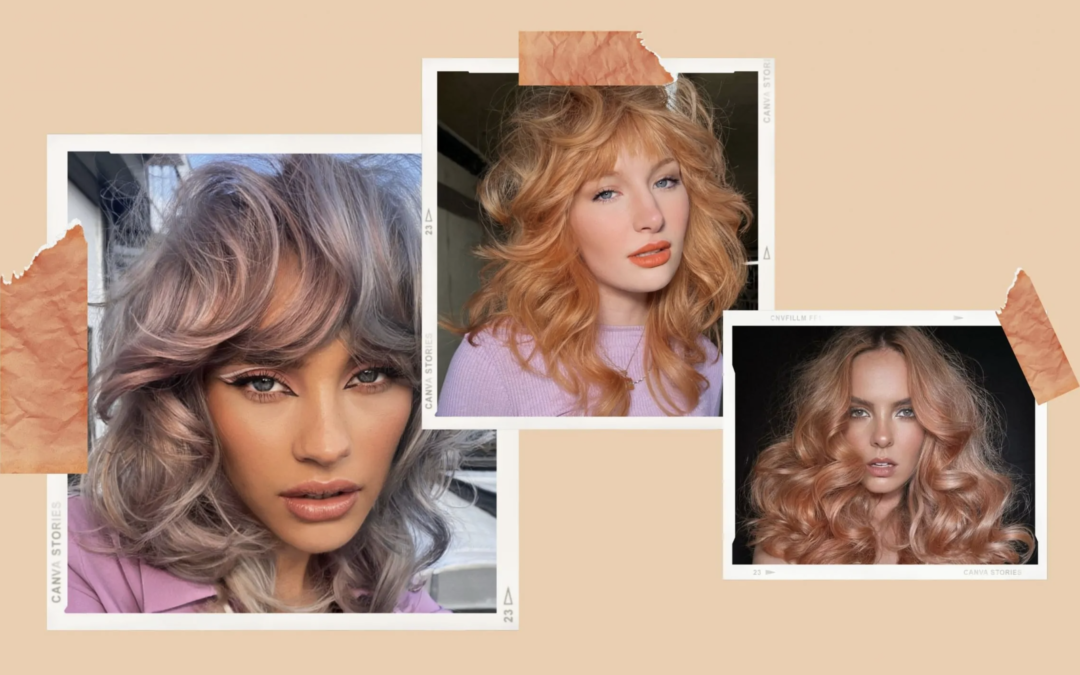
Cowboy Copper With An ’80s Edge – Joshua Goldsworthy’s Go-To Wig Wrap Is A Superpower For Your Session Kit
Joshua Goldsworthy fashioned a copper-rich 90s shag with an 80s punk edge at The Coterie: In Session, back in 2017.