No Results Found
The posts you requested could not be found. Try changing your module settings or create some new posts.


Advertorial

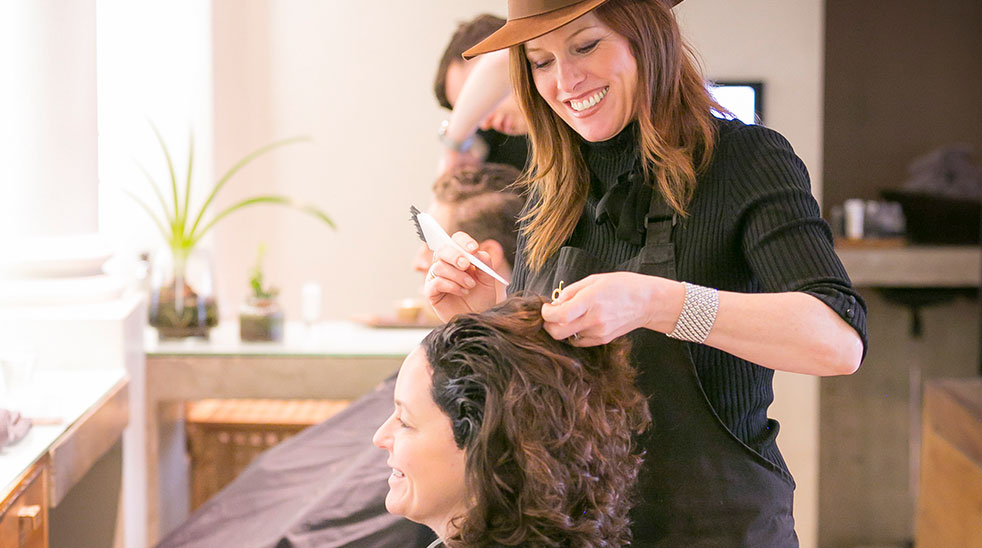
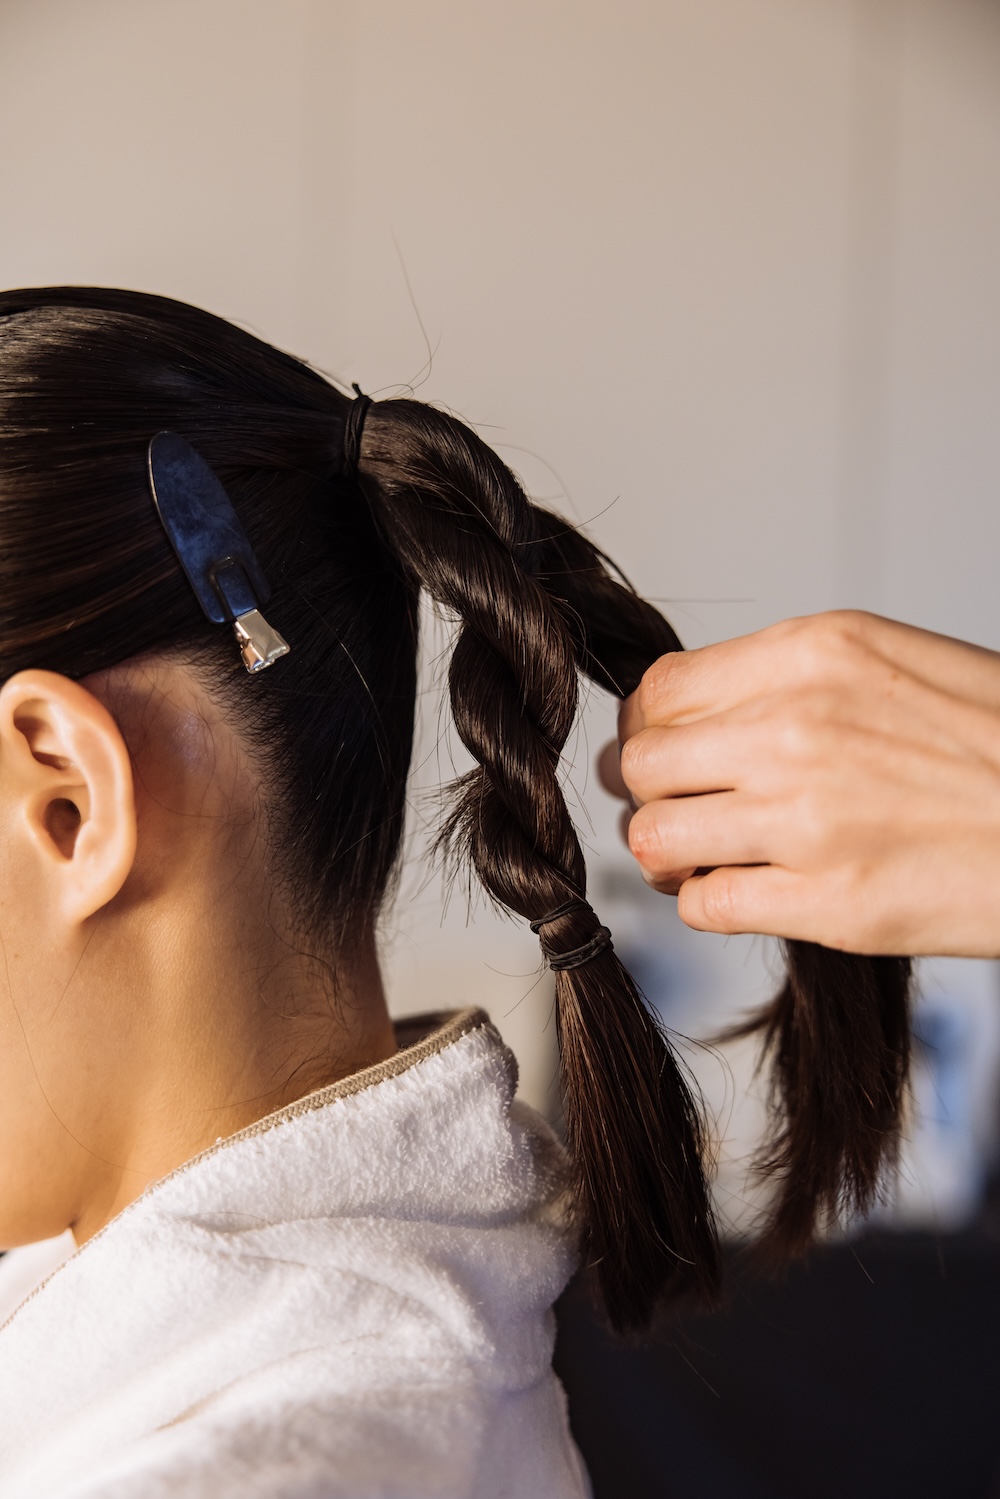
Bridal hair means money. Big money, when you take into consideration it’s captured in every single photo, has to withstand long ceremonies, hours of dancing and any unexpected weather conditions.
And that money gets even bigger when you add hair extensions into your bridal styling repertoire. Extensions not only allow you to add volume, length and structure to stunning updos, cascading waves and intricate braided styles, they also open up a huge business opportunity.
Whether you’re a freelance stylist or working in a salon, offering extensions within your bridal packages can increase your revenue, improve your portfolio and secure long-term clients who will return for future hair transformations. Here’s how…
")
 (4)")
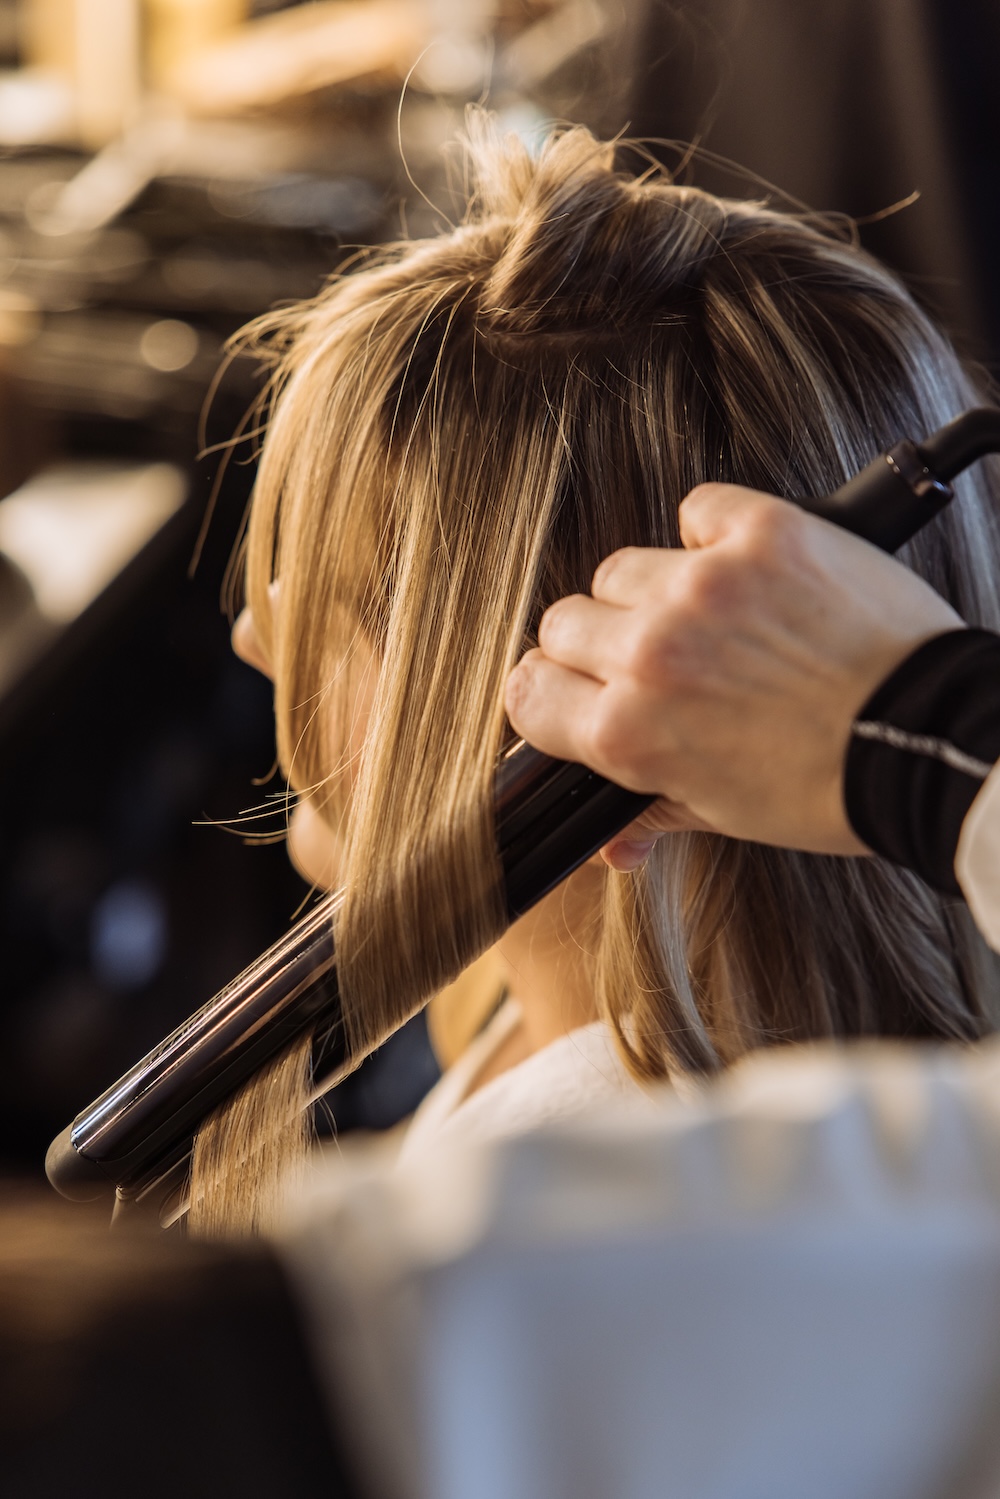
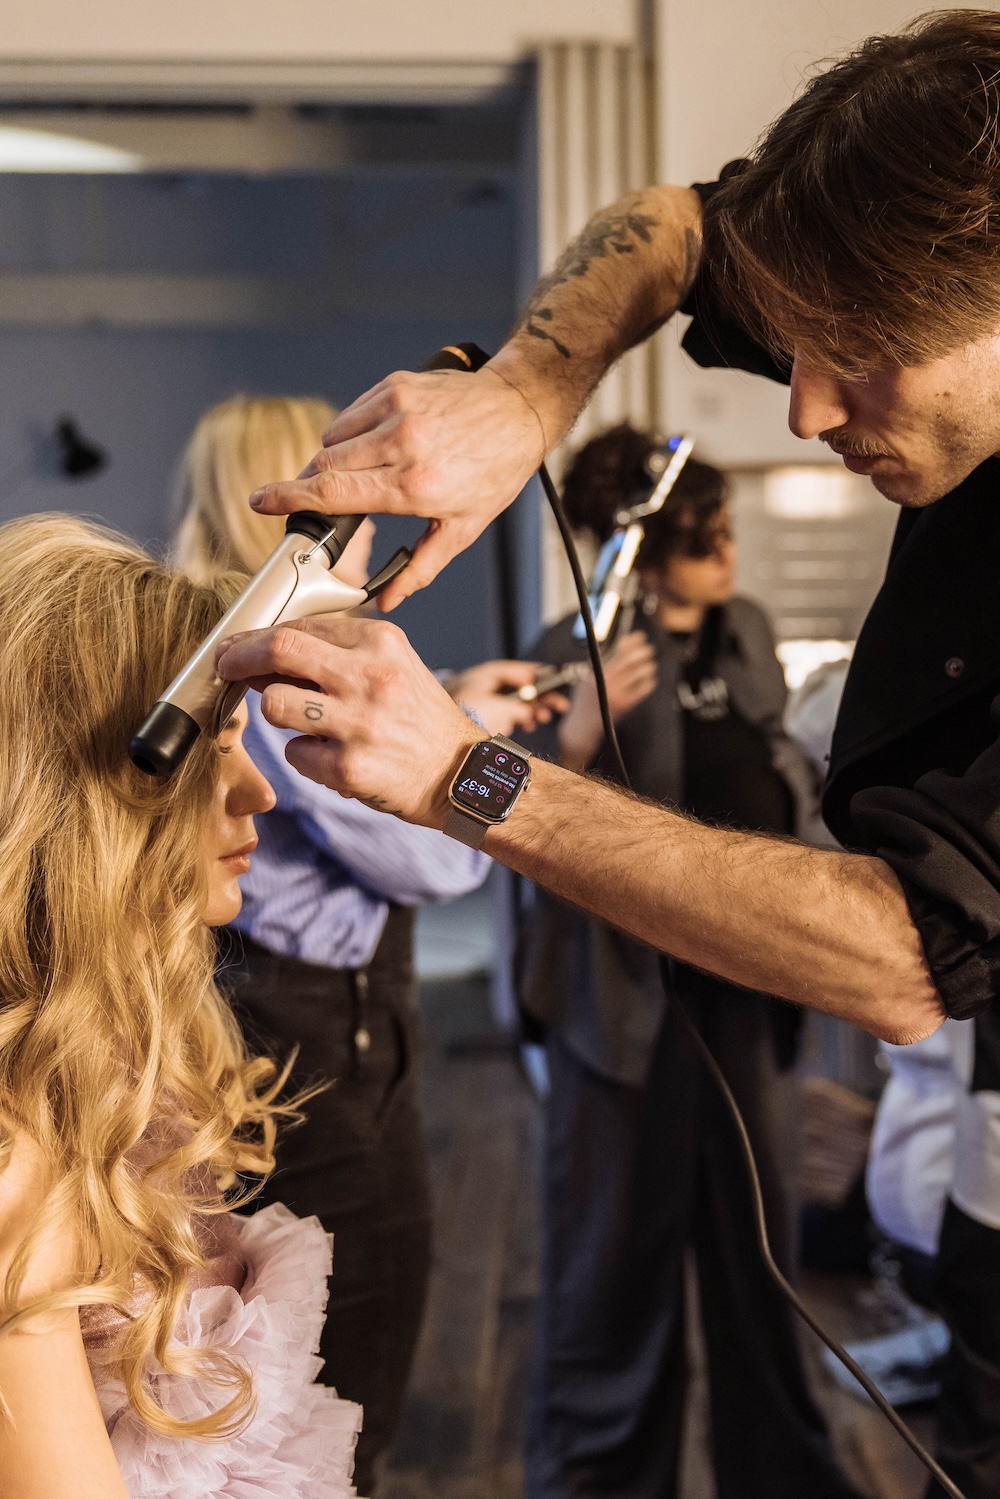
Ideal for brides wanting instant volume and length with a semi-permanent solution, these Marie-Claire Award-winning wefts are flexible, lightweight and blend seamlessly into natural hair. Applied in just 20 minutes, they’re perfect for pre-wedding transformations.


These are ideal for brides who want longterm extensions because they’re 2x stronger than traditional bonds and last up to 12 weeks. Great for intricate updos where discretion is key.


 (5)")
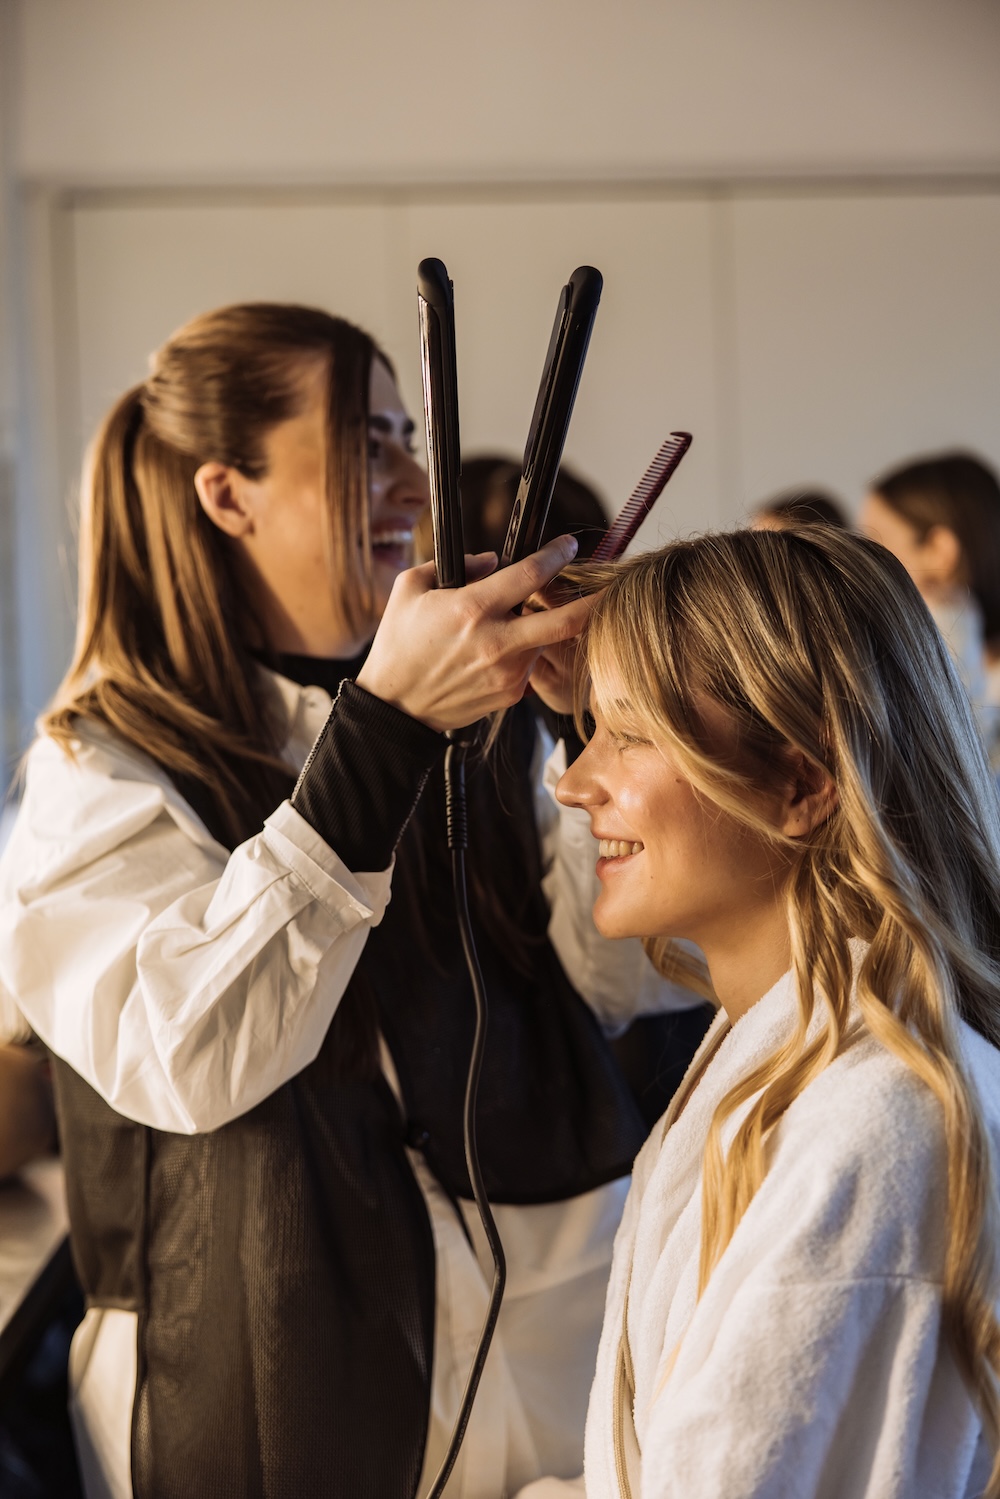
This collection is the go-to toolkit for stylists creating instant, high-impact results for weddings, hen parties or event clients. These ultra-lightweight, scalp-mimicking clip-ins blend seamlessly into the hairline, offering discreet volume and length with zero commitment. Designed with colour-coded clips and a “push-up” effect at the root, they’re perfect for styling updos, soft waves or adding shape around the face – no bonds, no glue, no fuss.


If your bride wants to switch up their look without cutting their hair, reach for this clip-in fringe, ideal for also framing the face and easy to blend seamlessly with natural hair. It’s perfect for soft, wispy bridal fringes and face framing or more structured vintage styles, and it’s quick and easy to apply, meaning you can try out multiple looks for their big day.
A honeymoon styling session or a colour refresh will keep their extensions looking flawless for months after the big day.” can we change to: “A honeymoon styling session or maintenance refresh is a great way to keep their extensions looking flawless for weeks after the big day.


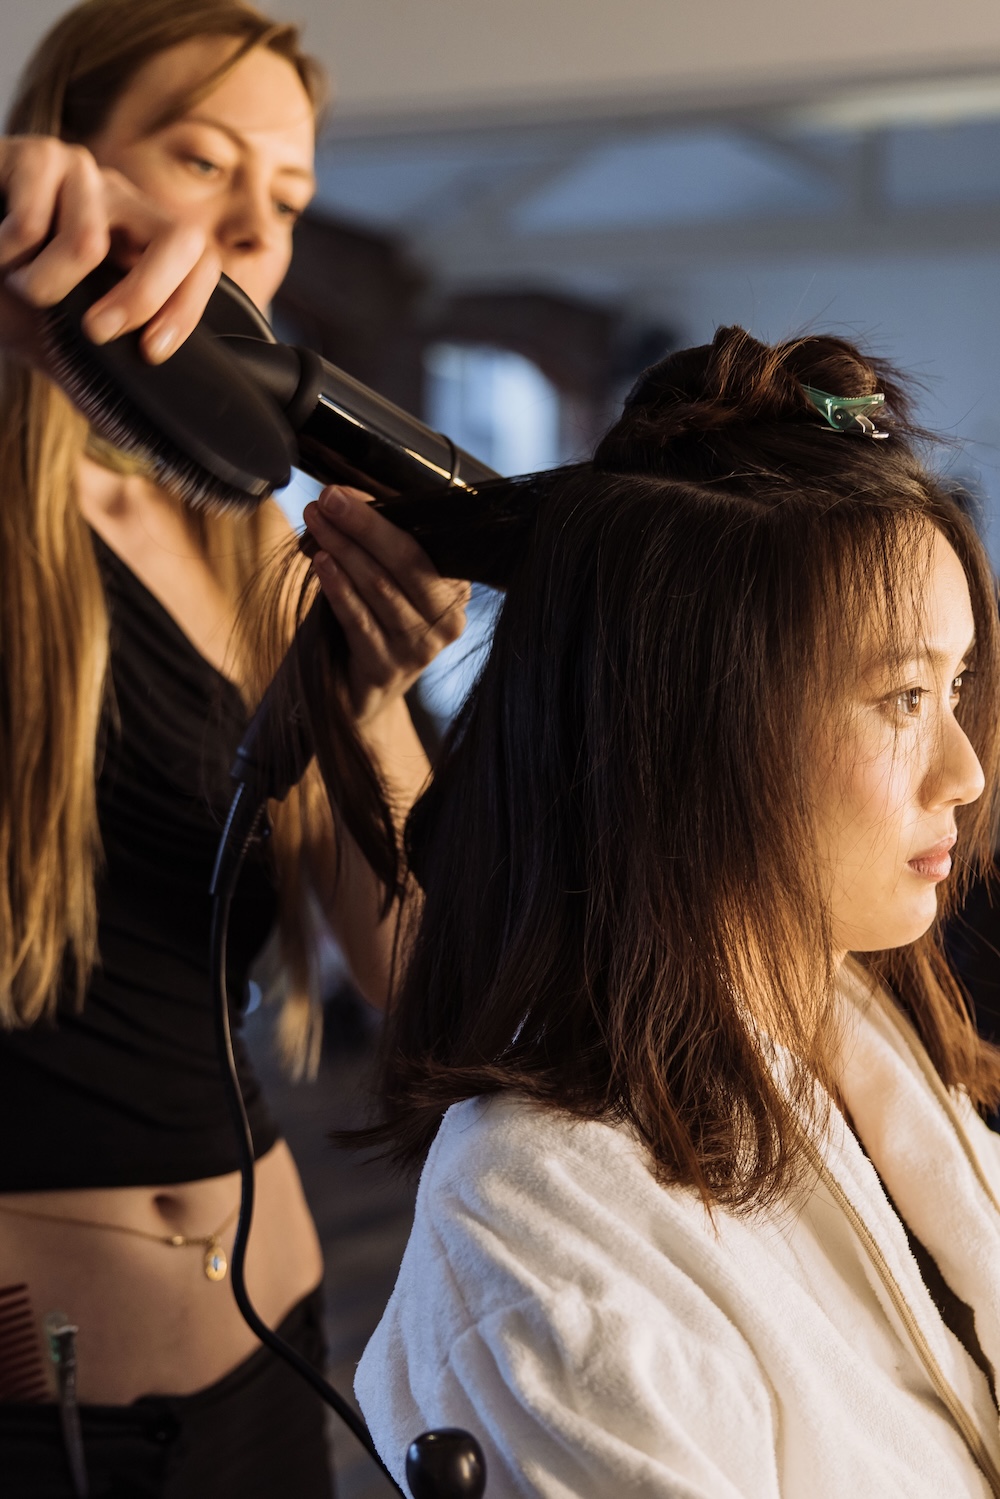
Bridal trials are key. Use them as an opportunity to introduce the idea of extensions to enhance her chosen style. Have samples on hand to show before-and-after transformations in real time. Your bride will instantly see the impact and feel more confident in booking the service.

Bundle extension fitting, styling and aftercare into one package to encourage bookings. For example:
“Bridal Beauty Package” – includes Express Weft application, a pre-wedding trial and a wedding day styling session.
“Bridal Party Perfection” – discounted clip-ins or fringes for bridesmaids to create a cohesive look.

Showcase extension transformations on your Instagram, website and bridal portfolios. Highlight before-and-after shots and testimonials from happy bridal clients who loved the added volume and length.

For brides opting for semi-permanent extensions, schedule a maintenance appointment after the wedding. A honeymoon styling session or a colour refresh will keep their extensions looking flawless for months after the big day.
Inspired? For more information on Beauty Works professional extensions and training, call 0161 823 9011 or email trade@beautyworks.co.uk
The posts you requested could not be found. Try changing your module settings or create some new posts.

There’s no doubt colour is your salon’s superpower, recharging profits and creativity and thrilling clients in the process. But what will fuel your colour business to the next level? Let us introduce you to the power of trends… and a macro trend that shows no sign of slowing is Expensive Hair, with full beam finishes so flawless and fabulous they shimmer with shine.
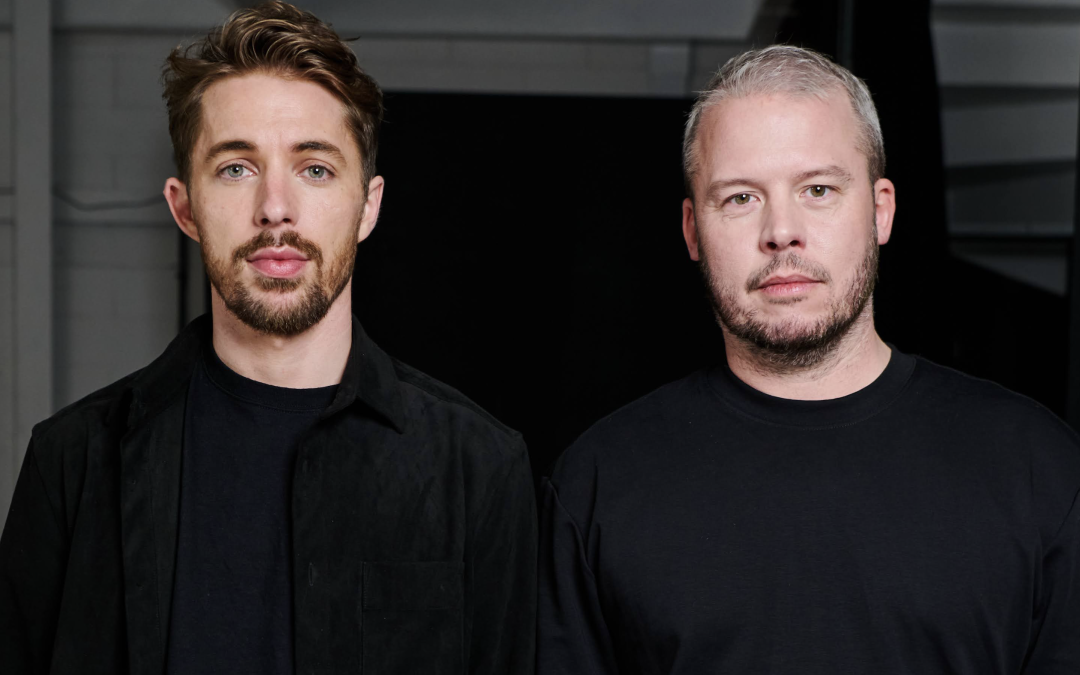
For this Creative HEAD front cover shoot project, in partnership with L’Oréal Professionnel Paris, we unleash an abundance of delicious-looking, high-end hues, thanks to the talents of Robert Eaton and Josh Goldsworthy. But more vitally, we uncover the commercial case behind the looks – the importance of understanding what’s trending, the psychology of consumer trends and how you can turn a trend into a brilliant business booster. Let’s see what’s trending right now…


An industry icon and a multi-award winner, Robert’s brief for this project was to deliver two luxury takes on this season’s brunettes, powered by the oil-rich formula of iNOA, which is also ammonia-free. Delivering super shiny results and a scalp that feels nourished, iNOA is a game-changing product for colourists – helping to craft hair looks so glazed and gorgeous they’ll make your mouth water! “Clients are often searching for luxury, both in the service they receive in the salon, and of course, in their hair,” says Robert. “My clients are always looking for high shine, well-conditioned hair. These looks really bring that to life in an accessible way. As colourists, we’ve got a responsibility to create beautiful hair, and also hair that’s well maintained.”


L’Oréal Professionnel Paris iNOA 6.1 + 20 vol; 7.31 + 20 vol; 8.13 + 20 vol; 10.21 + 30 vol


L’Oréal Professionnel Paris iNOA 6.8 + 20 vol back section; 7.8 + 20 vol middle + parting; 7.34 + 20 vol front; 8.31 + 30 vol hairline melted into 8.31 + clear + col vol lengths + end

Think of the double duty that a colour appointment can deliver – firstly with that luxurious experience courtesy of iNOA (thanks to its oil-rich, ammonia-free formula) and secondly with the backwash boost of a professional treatment, just like the salon exclusive Deep Conditioner from the new Vitamino Color Spectrum range. And if a client wants to keep that ‘just coloured’ vibrancy locked in, Vitamino Color Spectrum is the ideal take home treat, too!
“Luxury is about personalisation, ensuring that each technique, each colour formulation, is bespoke and personalised to a client,” explains Robert. Curate a perfect combination that can’t be replicated at home, taking into account skin tone, hair type and the ideal blend, to nail ‘Expensive Brunette’ every time.

From presenting at industry-facing avant garde shows to flexing his editorial prowess as a busy session stylist, Josh delivers incredible colour results that are bang on-trend and expertly tailored to his loyal clientele. His take on ‘expensive hair’ is rooted in the bespoke, engineered by a business-building evolution of balayage. “Balayage is already a really established commercial look used in salons, but this trend is pushing it into a whole new realm,” explains Josh. “Peekaboo Balayage is about placing subtle and sometimes bolder colours within the hair, just underneath, so you get these pops of colours and iridescent tones. This is that next forward step for clients to try something new, something that gets them out of their usual toner or application and gives them some versatility and the ability to change it up, every time.”


This iridescent yet creamy soft blonde acts as a veil through the top section of the hair… and then you’re treated to a seasonal surprise with deep slices of the two new pearlescent coral shades from Dia Light. Add a little movement and PEEK-A-BOO! The underneath reveals something more playful and unexpected. Colour can be as bold or as muted as you want, warm or cool – the power of ‘Peekaboo Balayage’ is in its versatility. We’re hooked!


L’Oréal Professionnel Paris Blond Studio Purple Lightening Balm + 30vol
L’Oréal Professionnel Paris Dia Light 10.23 + 9 Volume DiaActivateur; 8.24 + 9 Volume DiaActivateur; 10.24 + 1g Violet booster + 9 Volume DiaActivateur

Josh has opted for something more subtle this time, with a palette of honeys and caramels. As the cyclical nature of trends brings us back to the boho vibes of the Noughties, this look is ideal for that laid-back luxe vibe and will simply stun when the sun hits the sparkling mix of shades. “This warm, bronde tone with the copper boosters gives it a really expensive, beautiful feel, and it means you’re not seeing any start or stop point within the highlighted pieces,” says Josh.


L’Oréal Professionnel Paris Blond Studio Purple Lightening Balm + 30vol
L’Oréal Professionnel Paris Dia Light 9.03 + Copper Booster + 9 Volume DiaActivateur; 8.24 + Copper Booster + 9 Volume DiaActivateur
Peekaboo Balayage is fantastic for those clients who might need a more conservative look for their nine-to-five but then can reveal their playful side through alternative styling. “If you put a wave or a curl through, it’s really going to bring the look alive. It’s so versatile for everybody,” says Josh. This is a technique that works for any client, any hair type, any shade and is an excellent first toe dipped into the world of colour. You can dial up or dial down, depending on the mood – just see how Josh amped it up for the shoot!
That versatility extends to your business, too. “Peekaboo Balayage can stand alone as its own service within the salon, but from a business point of view, we can also look at it for top-up services in between,” says Josh. “Once we’ve got that pre-lightened section in, we’re looking at four- or six-weekly repeat services, which will be express services with a toner that would be cost effective. It’s a real opportunity.” And another positive for business? Clients don’t need to commit to a global colour, meaning a quicker appointment time that frees you up for more clients in your day.
Peekaboo Balayage is the custom colour Gen Z will crave, encouraging more younger consumers to opt for professional colour. And as the summer rolls closer – think of festivals, parties and events – build services around those occasions, helping to grow your colour business in fresh and new directions.


A Creative HEAD shoot in partnership with L’Oréal Professionnel Paris
Photography Jon Baker, assisted by Ethan Humphries
Reportage photography and artist portraits Anett Posalaki
Videography Austen Killingbeck-Jones, assisted by Douglas Cock
Hair Robert Eaton and Josh Goldsworthy, with additional hair support provided by Phoebe Dean (for Josh), Nicola Chamberlain, Bobbi Murray, Fran Sleighthome, Victoria Strain, Joe Strangward and Cathal Walshe, all for L’Oréal Professionnel Paris
Make-up Eliza Clarke, assisted by Babi Campos
Fashion Harriet Nicolson, assisted by Carla Grottola
Models Valentina Biliosa (Boss), Chelsea Kent (Body London), Phoebe Summer (MMG) and Kay-leigh Rachel Sussman (Zone)
Editorial Amanda Nottage (Creative HEAD)
Digital and social media Kelsey Dring and Caitlyn Brandom (Creative HEAD)
Creative direction and production Joanna Kidd (Creative HEAD)
Shot at Loft Studios in London


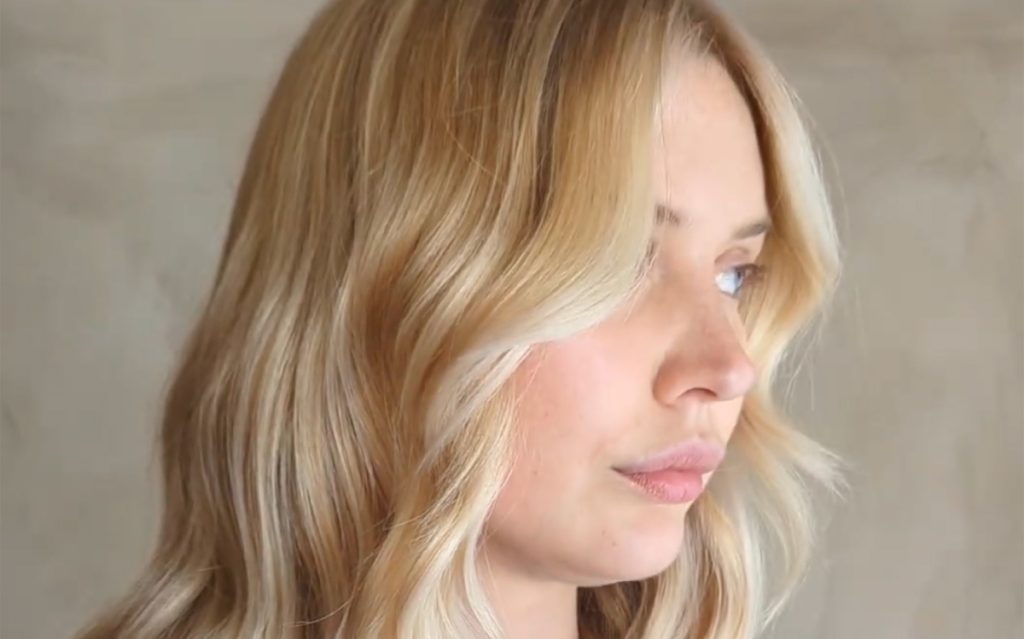
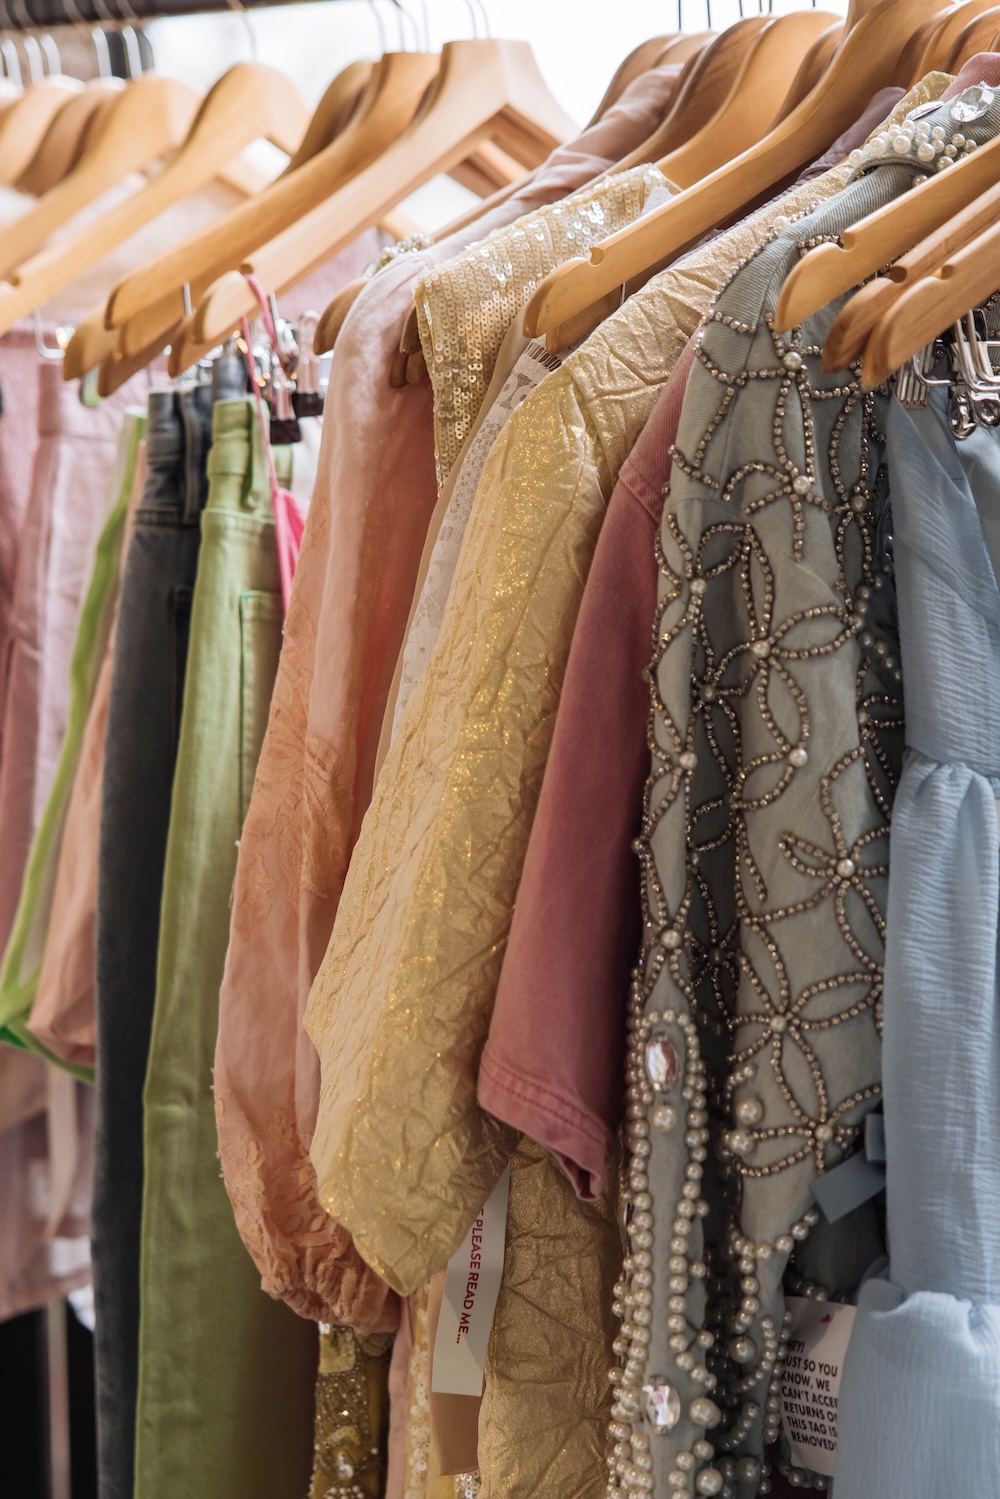
With spring officially upon us, it heralds the perfect opportunity for clients to get playful with pastel tones and experiment with a new look, especially if they are attending festivals, special occasions or off on a trip abroad.
Known for her creative colour, including blush pink, cowboy copper and sweet peach, Charlotte O’Flanagan (Charlotte Paints Hair on Instagram) shares how to deliver the perfect pop of pastel in your salon.
From back of head to face:
Step one: I pre-lightened the hair using 20vol Progress Davines as a scalp bleach for the 8-week top-up
Step two: I let it develop until the hair reached a pale yellow – light enough to ensure my pastel direct dyes would maintain their vibrancy.
Step three: I then toned with Davines Quartz for a soft, pearly base, creating the perfect canvas for vivid colours.
For application, I worked in diagonal sections, starting with thicker sections at the top and gradually thinning toward the ears, allowing the colours to fall forward and blend naturally.
Each of the six shades was applied at the roots first, then seamlessly blended through to the ends. I made sure that the first and last colours were deeper and more saturated to enhance the melting effect while still maintaining contrast.
")
With festival season approaching, pastel hues provide a fun, creative change with minimal commitment. They fade back to blonde, making them perfect for clients who want a temporary pop of colour or are looking to experiment with a new look.
Ideal for blondes wanting to explore something new, pastel tones can be tailored to suit a variety of skin tones. Warm and cool shades can be adjusted accordingly, making this a versatile and playful option for all clients.
For a statement look with delicate balance, a strong, blunt bob just above the shoulders keeps the style fresh, chic and effortlessly head-turning.

A Creative HEAD shoot in partnership with Diva Pro Styling
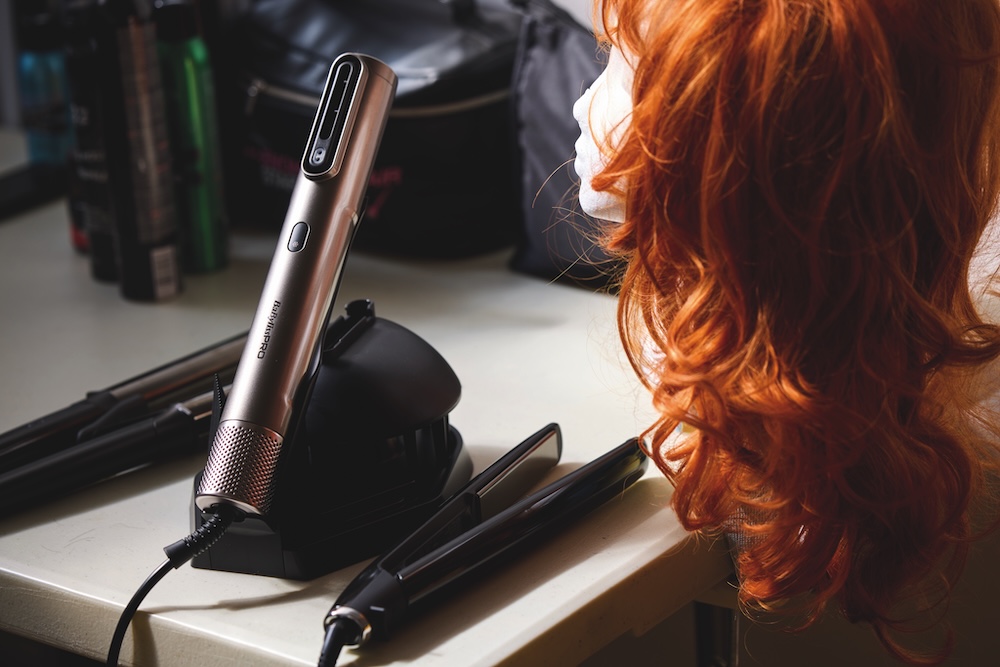
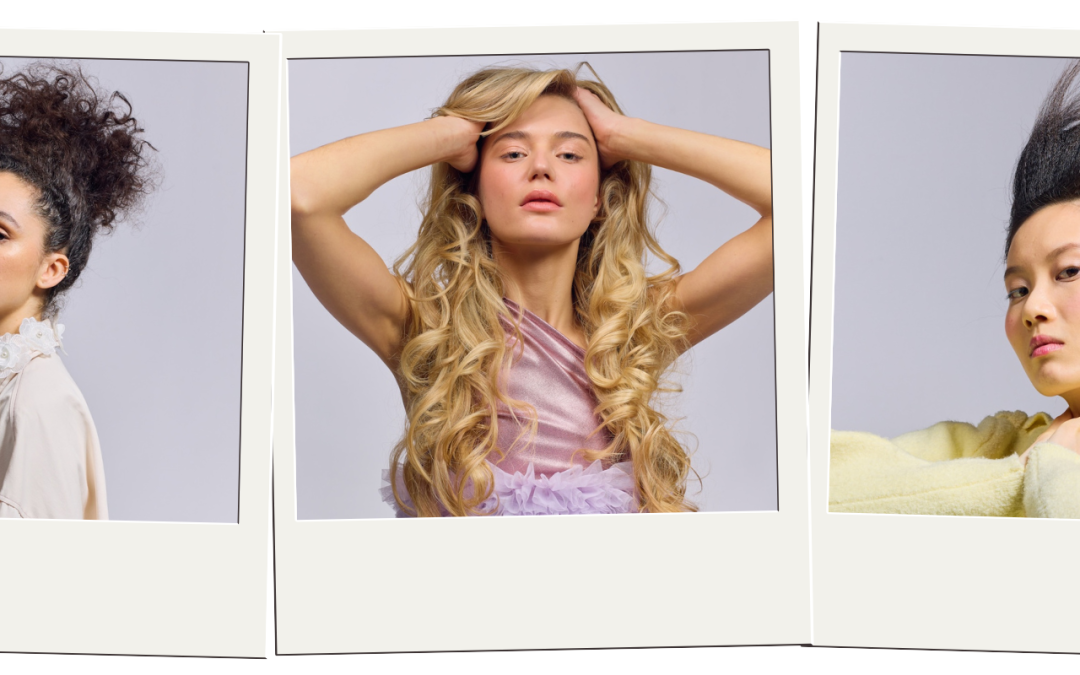
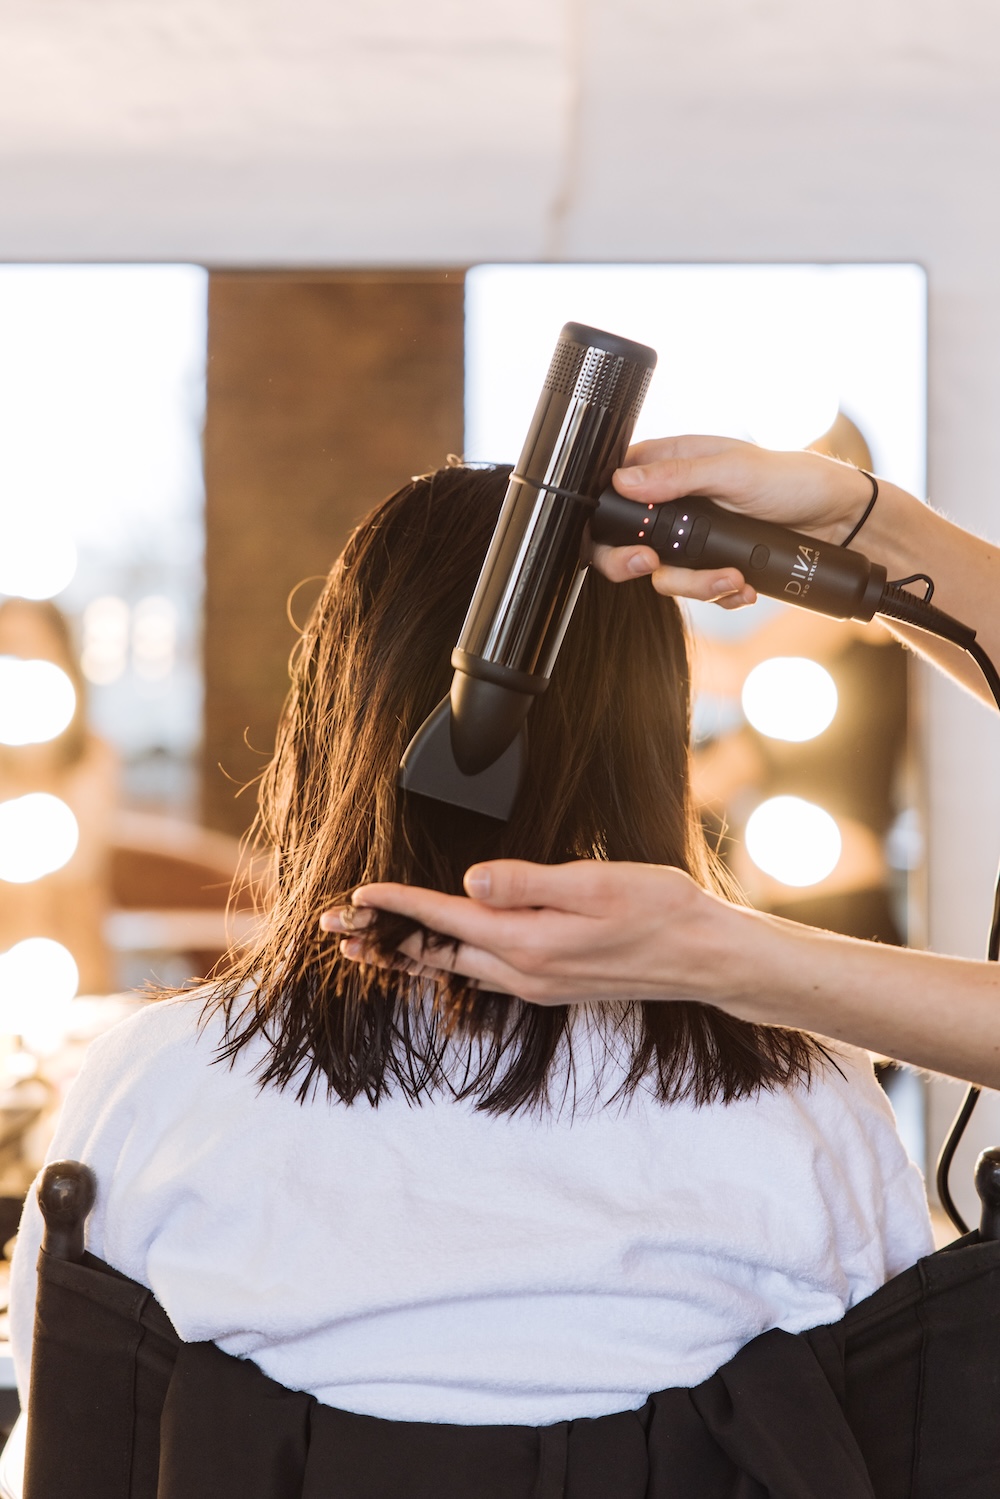
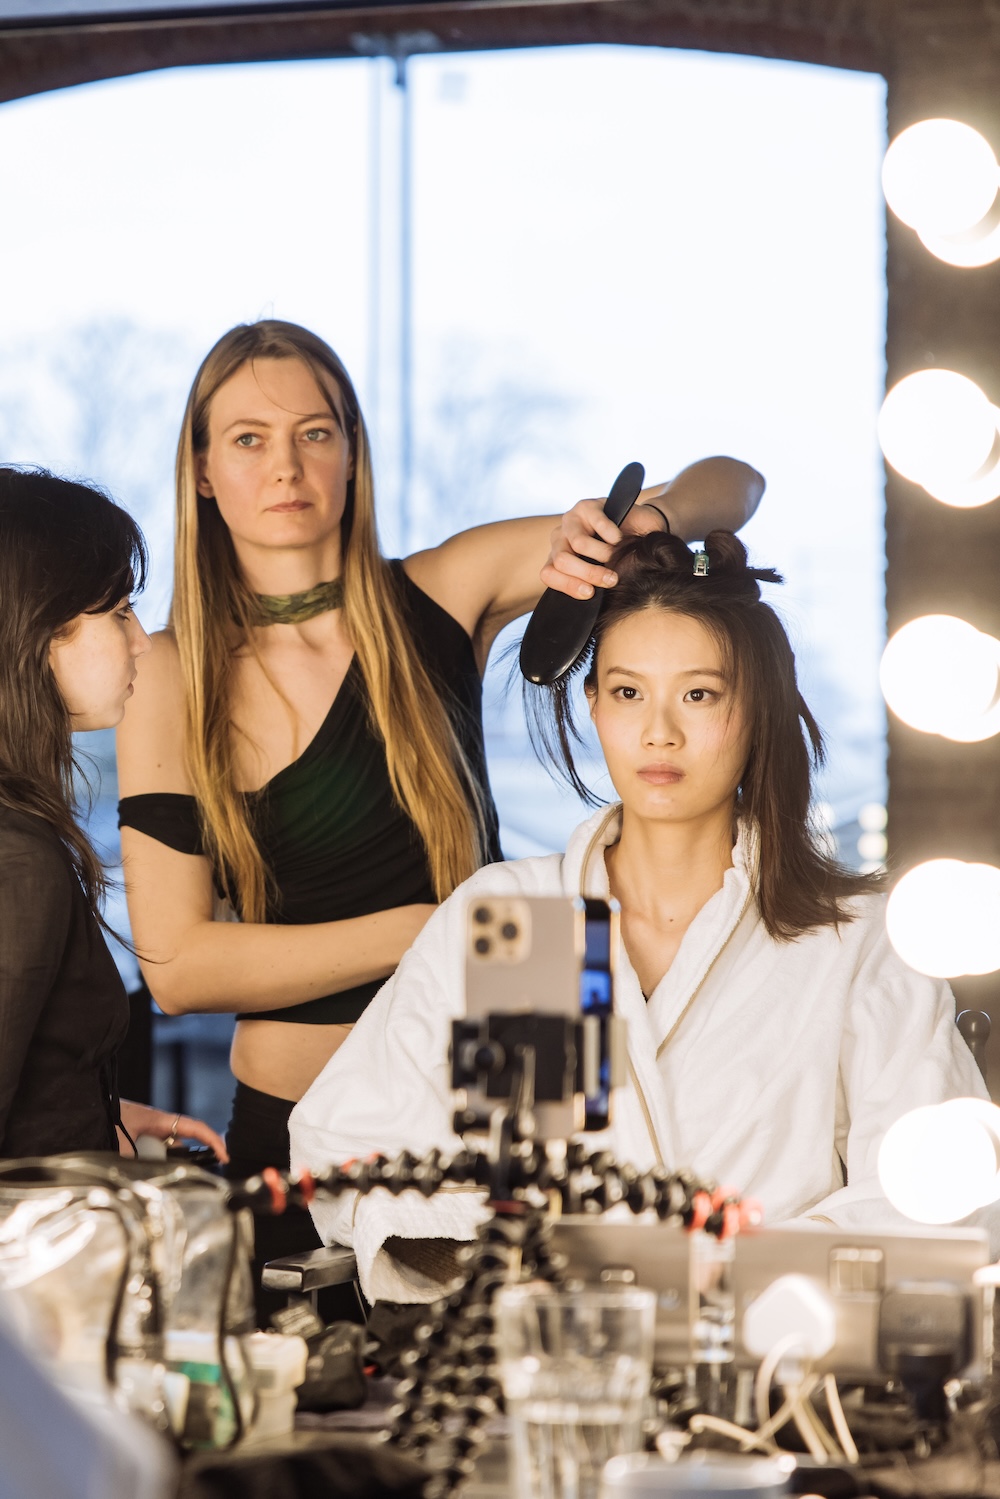
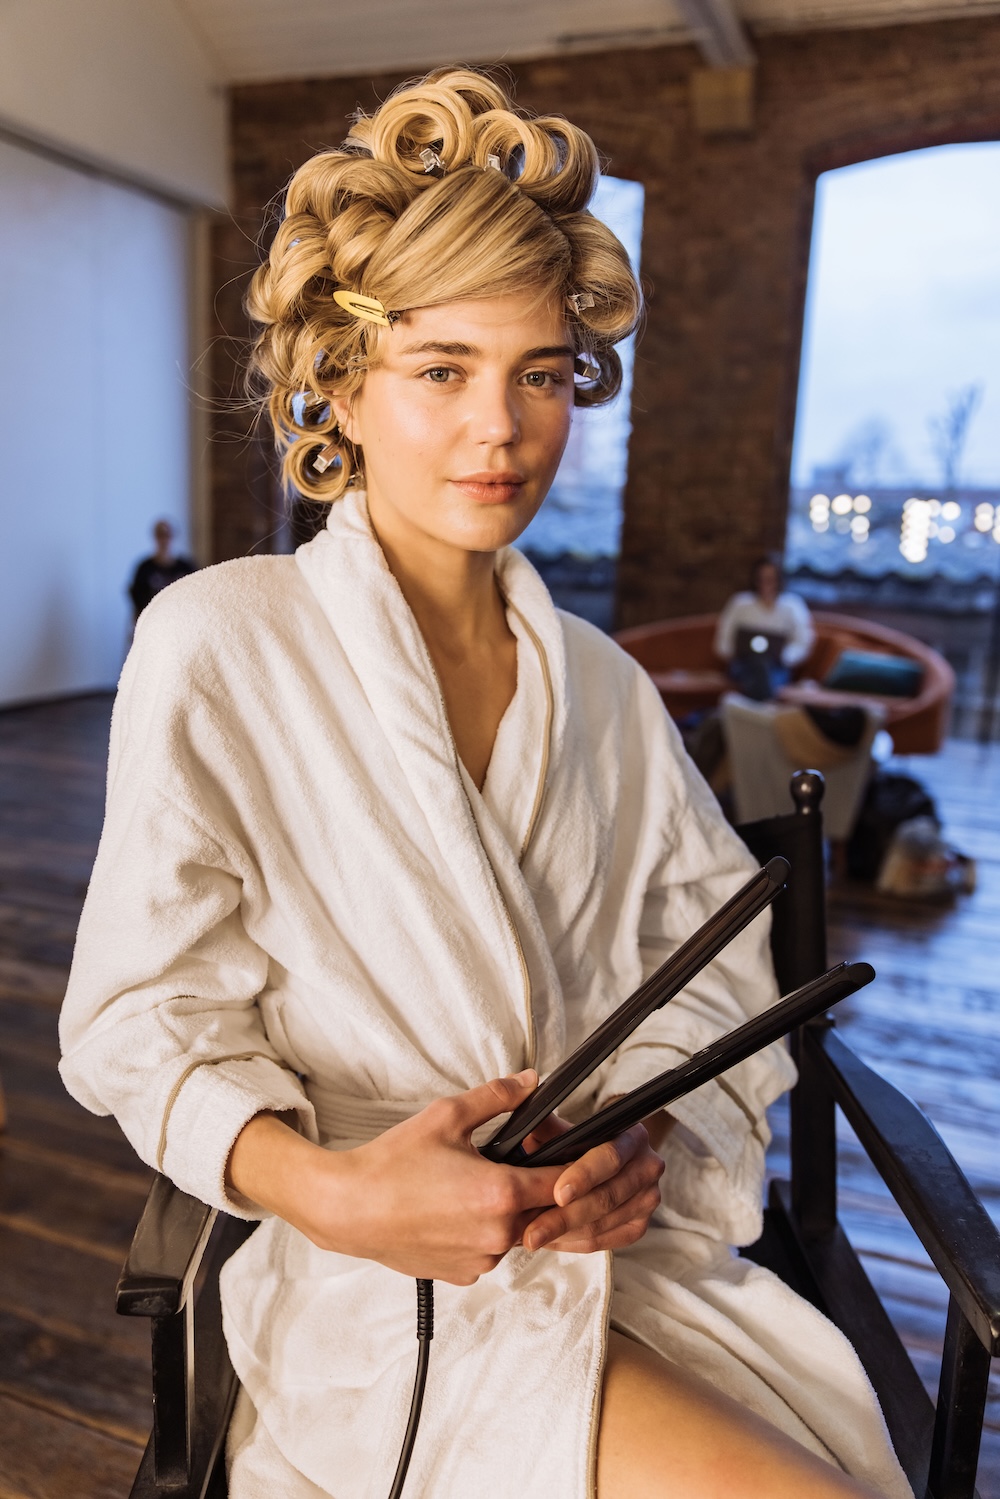
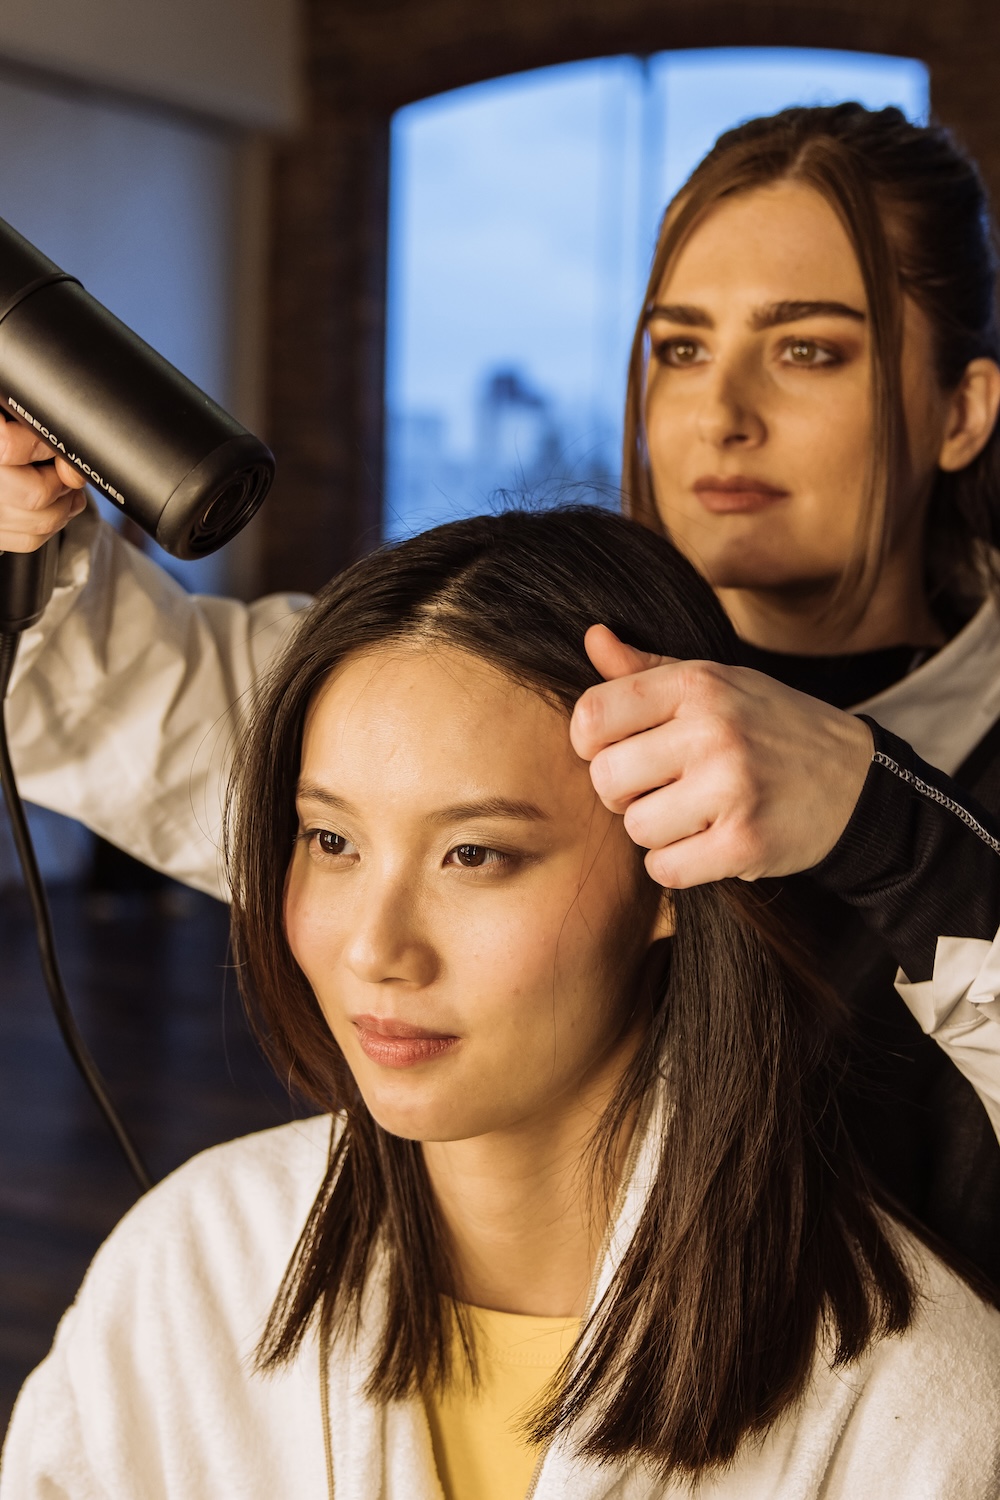
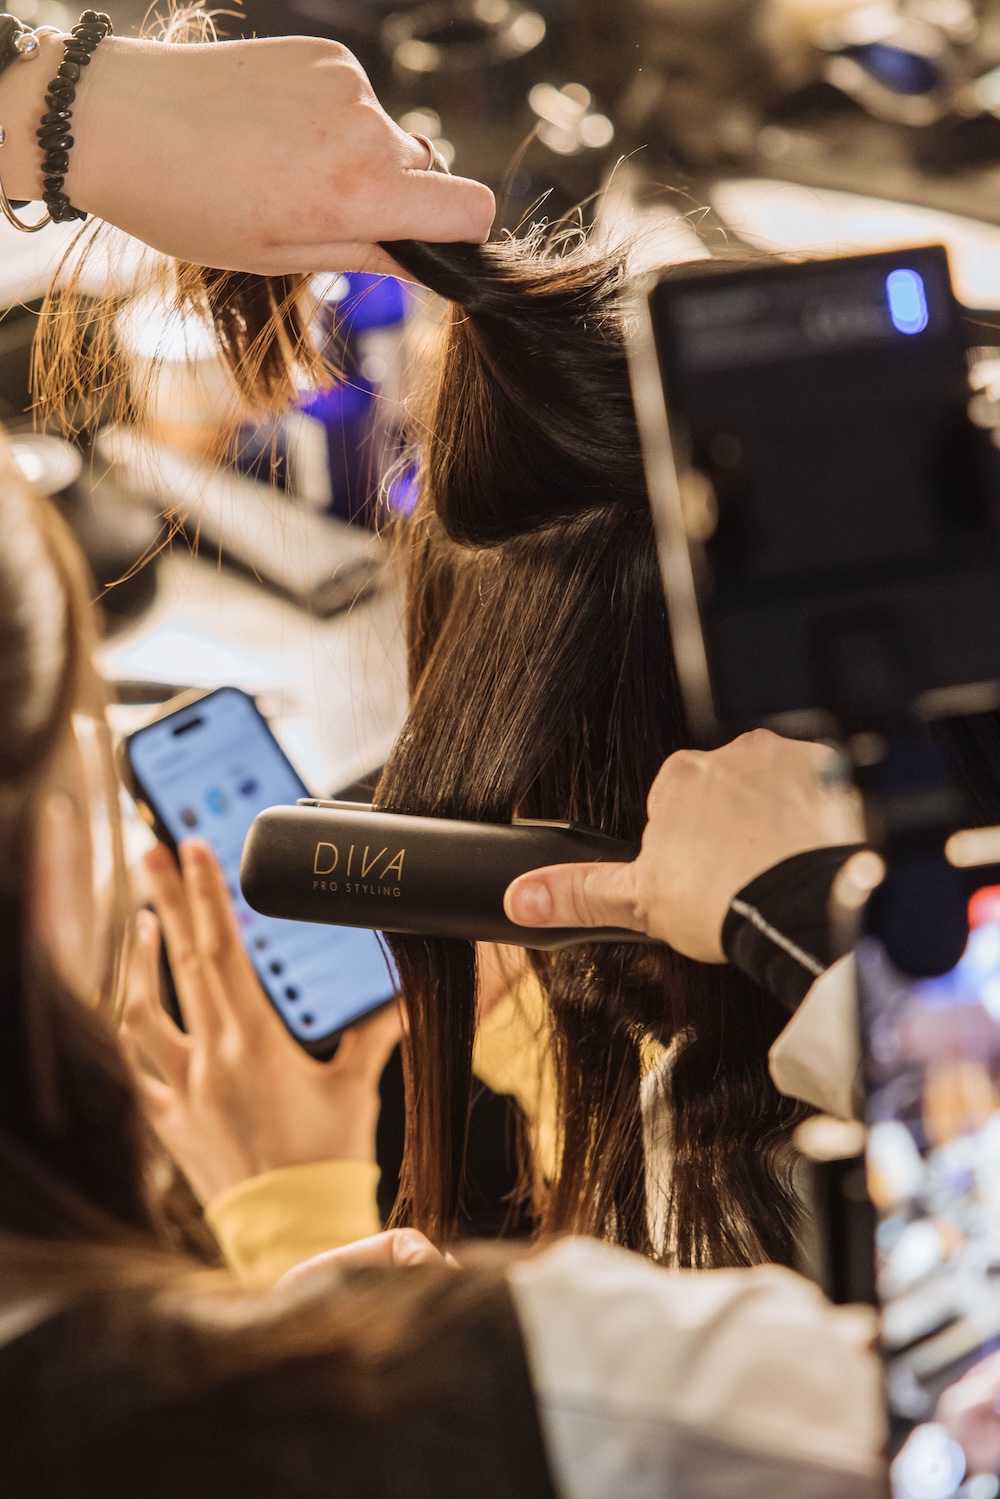
Each hair stylist has their own little idiosyncrasies when it comes to styling techniques. Give each stylist a brief, with the same tools, and each one will deliver something completely different… so, that’s what we did. Creative HEAD, in partnership with Diva Pro Styling, assembled Rebecca Jacques, Birte Klintworth and Giuseppe Stelitano and gave each their own brief – challenging them to bring concepts to life on three different heads of hair, all helped to life by the breadth of Diva Pro Styling tools in their kit bags, including the new range of Diva Atmos Professional Stylers.
These briefs were set within the prism of S/S25 runway trends. Think Chloë, a fashion house that often sees its show models sporting ‘undone’ hair, but sending their looks down the S/S25 catwalk noticeably more dressed and ‘done’. From celebrity looks to client requests, there’s a noticeable return to hair that looks styled. And this is the season to try something fresh – from festivals to summer parties, events to holiday hair, we’ve pushed our stylists to the ‘finish’ line to create wearable looks with an editorial vibe that clients will covet.


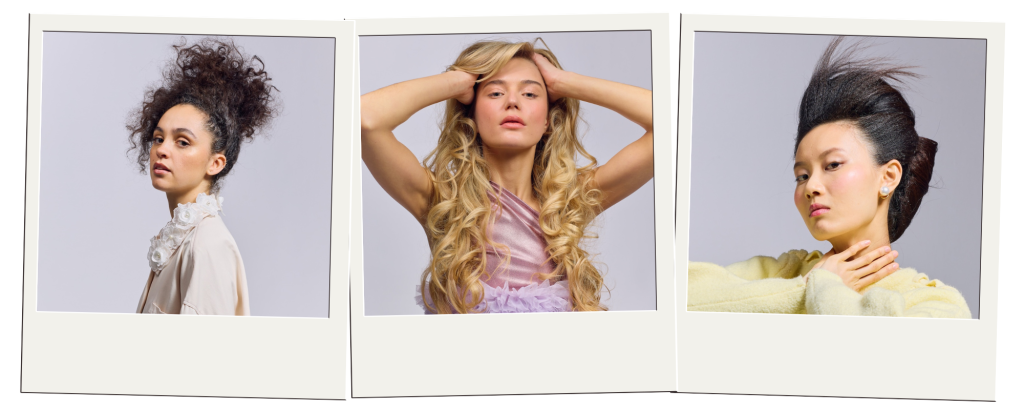
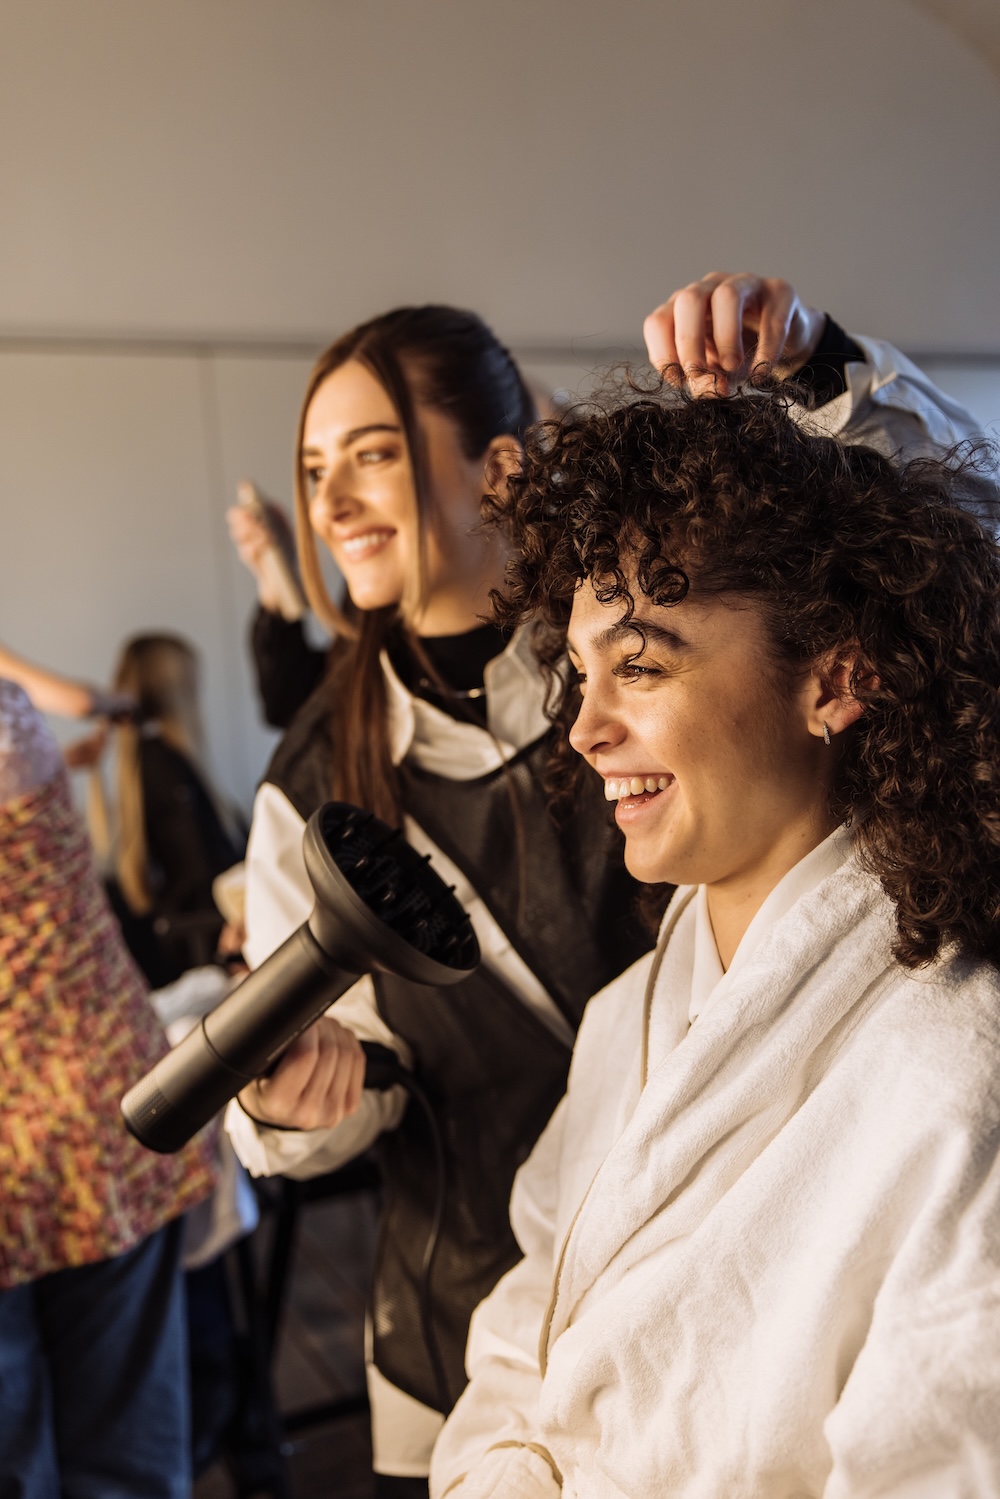
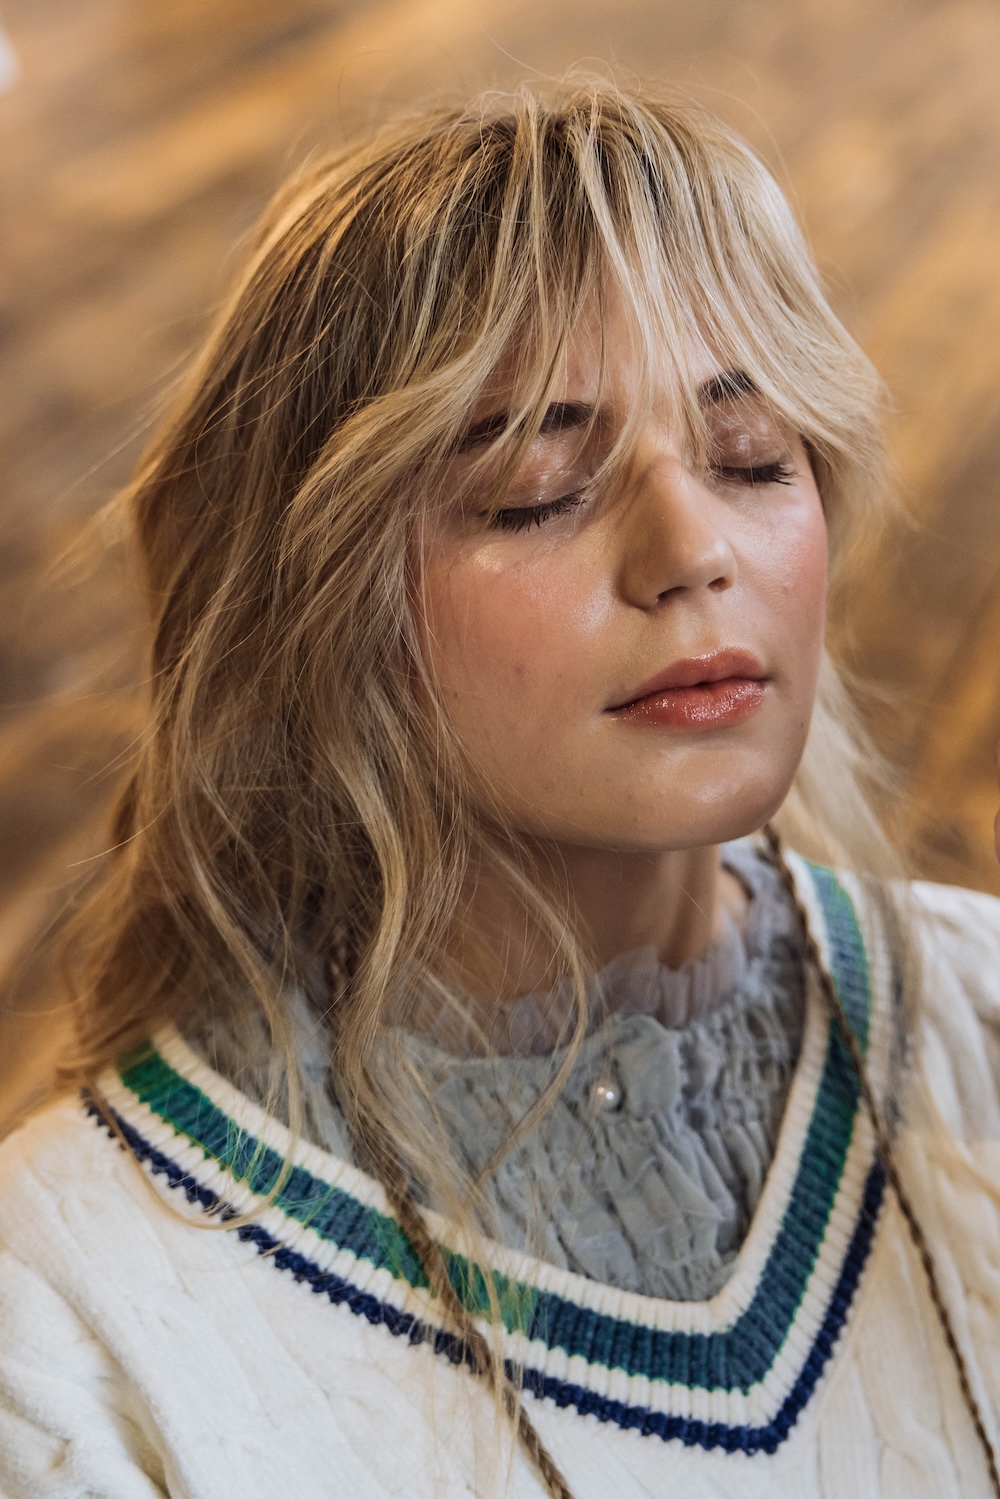
For a few years, beauty trends have shied away from anything that looked like you made a real effort. Slowly, we’ve seen a return to hair that looks ‘done’. From Sabrina Carpenter to the wives of Capitol Hill, big hair is BACK. It’s blown out, it’s bouncy and it’s bringing us back to the ‘90s… Giuseppe Stelitano has embraced the big brief and delivered to the max.


For a few years, beauty trends have shied away from anything that looked like you made a real effort. Slowly, we’ve seen a return to hair that looks ‘done’. From Sabrina Carpenter to the wives of Capitol Hill, big hair is BACK. It’s blown out, it’s bouncy and it’s bringing us back to the ‘90s… Giuseppe Stelitano has embraced the big brief and delivered to the max.


The Look: Hair was prepped with mousse and blasted dry using the Diva Professional Atmos 2 Atom Hair Dryer. Then section by section, Giuseppe used the Digital Crimper from the root to the nape to set in that texture he needed for the final updo. Once done, he brushed through, shaped then twisted hair in pieces before pinning. Using the new Atmos Professional 13mm Super Slim Styler, he straightened small sections to create a windblown effect (“I can go literally to the edge, tapping at the ends and bending over at the root”).
The Trick: “Because I need the volume, especially on the top, I use the Digital Crimper vertically and kept going upwards,” says Giuseppe. “You’re almost directing the roots as well.”
The Tools: Diva Professional Atmos 2 Atom Hair Dryer; Digital Crimper


The Look: This is almost an undone updo, a little messy but elevated. Giuseppe started by gently stretching out Rubi’s curls using the Atmos 2 Atom Hair Dryer and his fingers. Then he added a couple of donuts on the top of the head to build the hair up. After brushing the hair, around the hairline, he went in with the new Atmos Professional 13mm Super Slim Styler to create a soft wave. He then switched to the 25mm Standard Styler, where there was more hair to manage. Visually building up the hair and to add definition, he used the 19mm Digital Tong on selected areas on top and through the front sections.
The Trick: “I use the Atmos Professional Styler almost for backcombing, on a lower heat,” says Giuseppe. “I use it at the end, to finish the look – pulling down, so it almost locks in a nice, soft flatness.”
The Tools: Diva Professional Atmos 2 Atom Hair Dryer; Atmos Professional 13mm Super Slim Styler; Atmos Professional 25mm Standard Styler; 19mm Digital Tong


The Look: We’re donning the red swimsuit and heading back to the ‘90s for this one, as Giuseppe found inspiration in the iconic blonde waves of Pamela Anderson. Using the Atmos 2 Ultra Hair Dryer with a nozzle (“The Ultra has a bit more power”) he blow-dried section by section with a round brush, drying any product – he used thickening spray – from roots to ends. He then turned to the new Atmos Professional 25mm Standard Styler, taking sections (not too big) and creating a glamorous blow dry. Finally, fixing the diffuser to the dryer, he diffused the hair lightly on a cold setting before finishing with the Atmos Professional 25mm Standard Styler – again through the front, adding a bigger curl.
The Trick: “I over-direct the hair forward,” says Giuseppe. “Then with the styler, you can go close to the roots, give it the first bend – this will determine the type of curl – and then slowly, gently, just pull the styler up, holding the ends of the hair while you’re doing it, so you still have control. This gives curl and hold.”
The Tools: Diva Professional Atmos 2 Ultra Hair Dryer with a nozzle and a diffuser; Atmos Professional 25mm Standard Styler


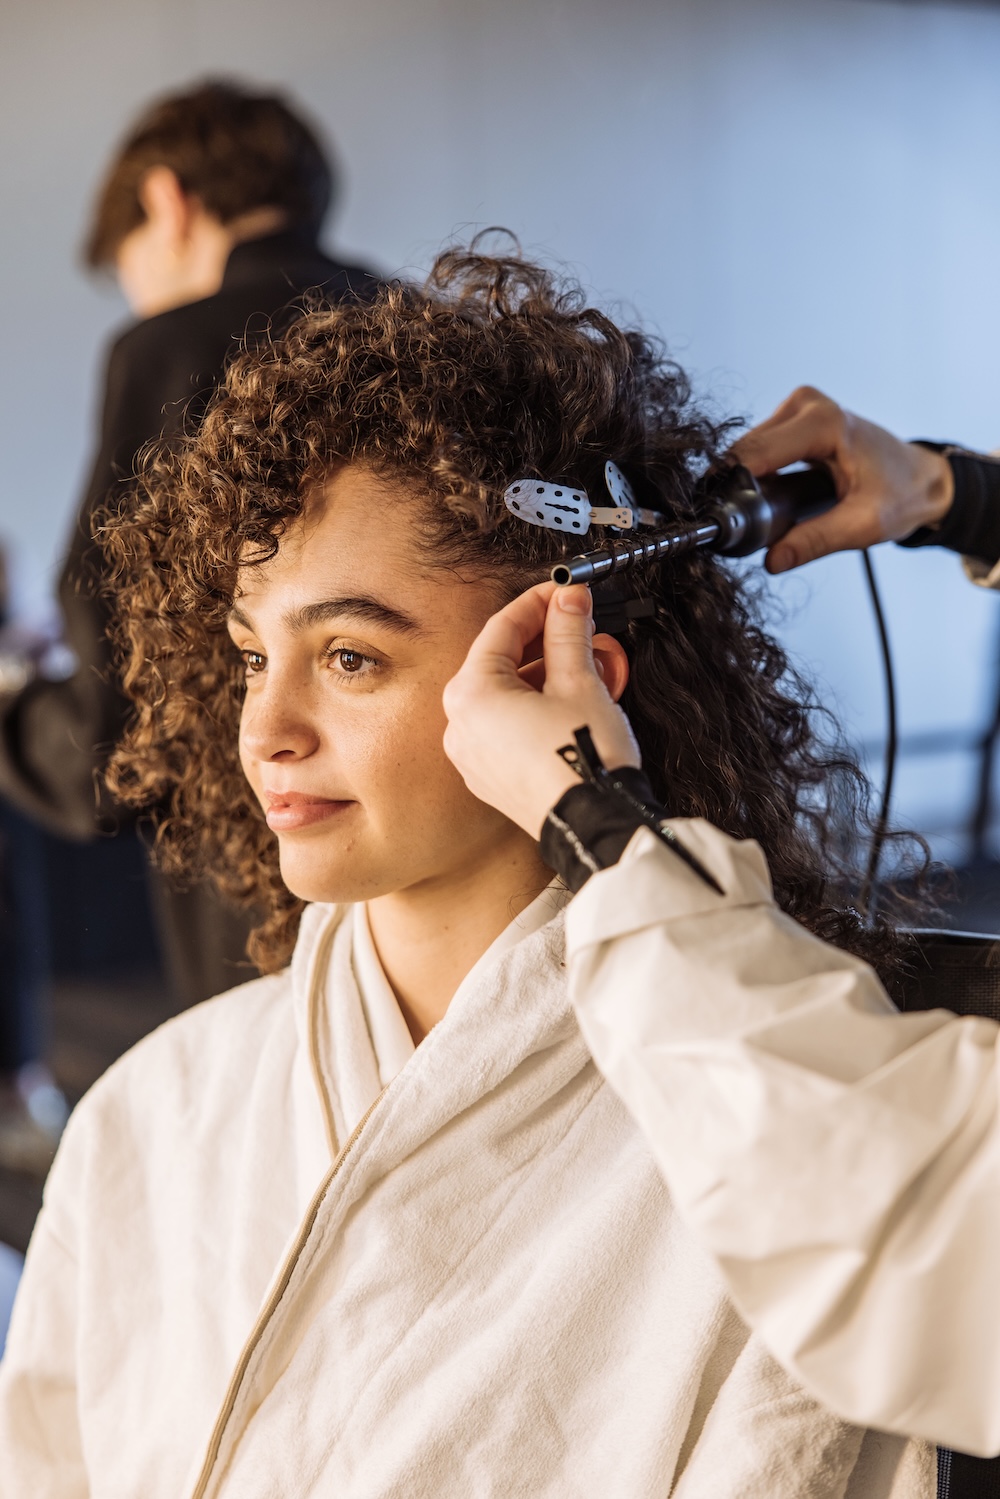
The embrace of natural texture over the past few years has been a breath of fresh air, creating space for anyone with any kind of kink or coil to get playful. Rebecca Jacques understood the assignment, from the perennially popular beachy wave (with added micro braids!) to wet-look zigzag bends to the swept-over joy of a cloud of delicately embellished coils.


The embrace of natural texture over the past few years has been a breath of fresh air, creating space for anyone with any kind of kink or coil to get playful. Rebecca Jacques understood the assignment, from the perennially popular beachy wave (with added micro braids!) to wet-look zigzag bends to the swept-over joy of a cloud of delicately embellished coils.

The Look: Hair was prepped with mousse and hydration spray then blow-dried using the Diva Professional Ultra 2 Atmos Hair Dryer. With the new Atmos Professional 13mm Super Slim Styler, she added kink and bend to horizontal sections of hair, using low elevation and a high tension – pulling out the volume a little bit towards the ends, rather than forcing it into a new shape and structure. She also went through with the Digital Wave & Curl to create a more stretched out wave in places. Hair was slicked back using the edges of a detailed editorial brush – “you get a super slick sideburn area” – before finishing with a strong centre part, and two tiny triangles of hair pulled through. The Atmos Professional Wide Styler straightened the ends.
The Trick: “There was a variation on how tight we pressed the Digital Wave & Curl into the hair,” says Rebecca. “Sometimes we got a more intense imprint, other times it was slightly softer.”
The Tools: Diva Professional Atmos 2 Ultra Hair Dryer; Atmos Professional 13mm Super Slim Styler and 42mm Wide Styler; Digital Wave & Curl


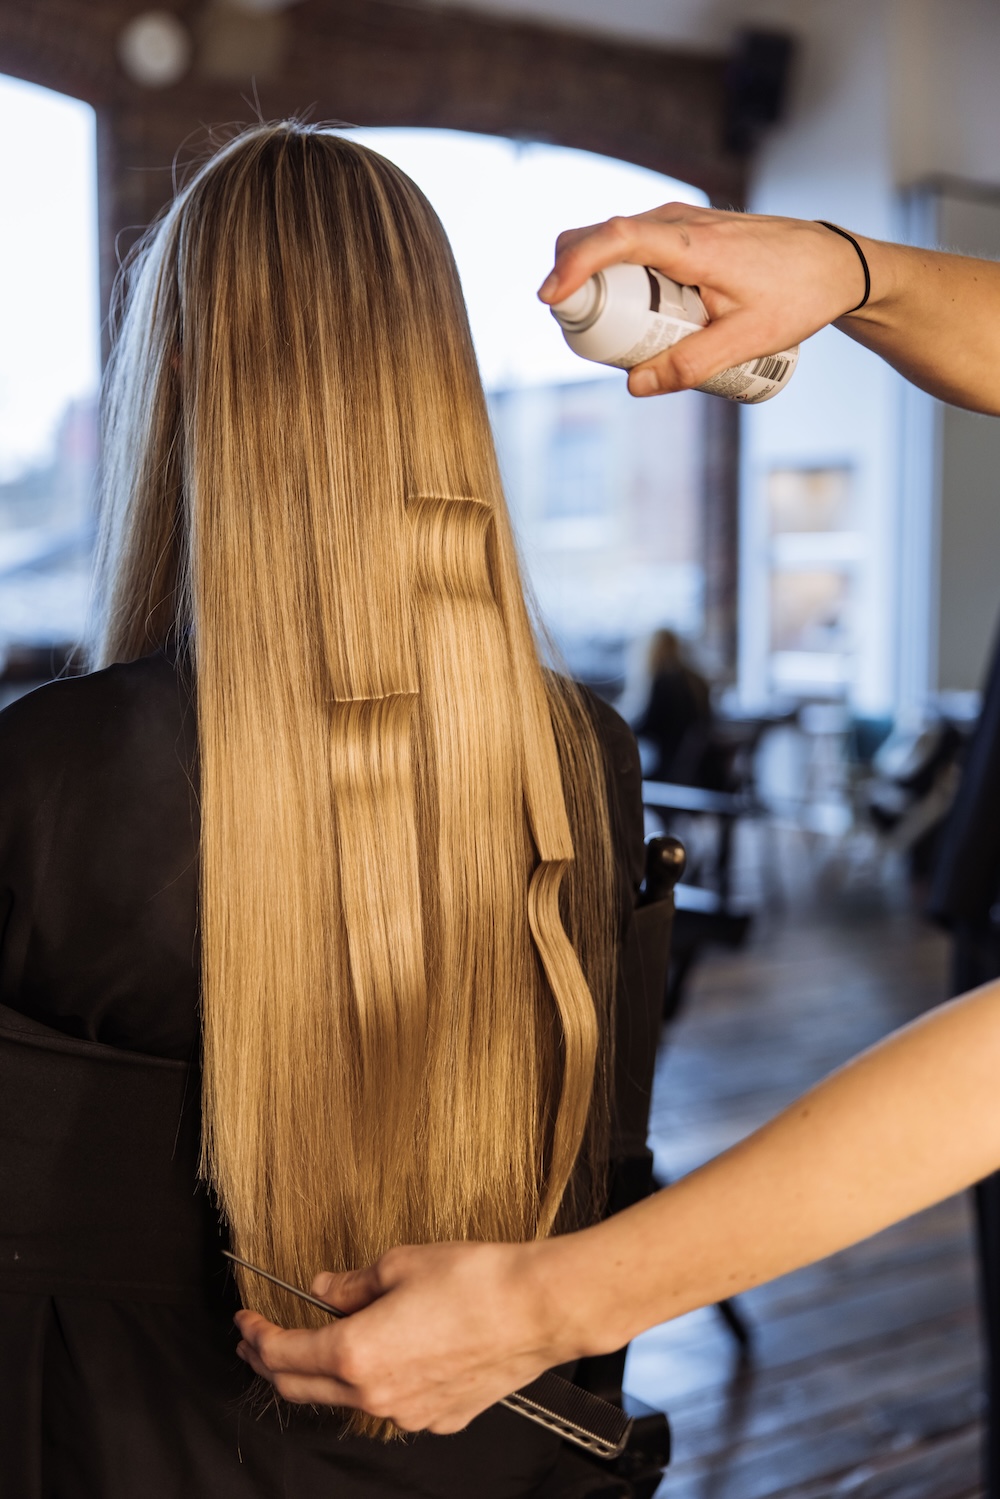
The Look: Taking zigzag sections prepped with a dry texture spray for grip, mainly along the parietal ridge, Rebecca created pockets of texture using the new Atmos Professional 25mm Standard Styler. When it’s all brushed out, it’s less uniform, more lived in – it was about enhancing Gerda’s natural texture rather than pulling it out. Rebecca straightened the edges with the styler, then added some skinny braids to finish the look.
The Trick: “Rather than the ‘S’ bend you normally see, I’m physically curling it and then turning it straight all the way around to continue that pattern,” says Rebecca. “Keep the styler completely vertical, because we’re not looking at volumising at the root. Straightening out that edge afterwards gives it a cool, lived-in look.”
The Tools: Diva Atmos Professional 25mm Standard Styler

The Look: Using a cocktail of mousse, hydration spray and serum, some of the hair was twisted into place at the back, where the curl pattern was different to the front. A lot of the prep was done using the Diva Professional Atmos 2 Ultra Hair Dryer (“Because it’s got a deeper diffuser, you can really get into the root area, but I love the smaller one for the more detailed curls, too.”). Rebecca looked at which curls required more definition, working through horizontally with the section pattern, armed with the Gold Dust Multi Wand with the micro barrel. Because Rubi’s hair was going to be pushed over to one side, she alternated the curl pattern so that it pushed against the root for maximum lift. Some of the curls were broken up with Rebecca’s fingers to expand the shape, then to add a little more flare, she flattened out part of the root with the Multi Wand using a compressing technique, elevating the hair with high tension away from the scalp.
The Trick: You’ll notice the detail at the side, where Rebecca went super low to keep it more editorial, using a tail comb to press and set the hair against the scalp using a cool shot from the Atmos 2 Ultra Hair Dryer.
The Tools: Diva Professional Atmos 2 Ultra Hair Dryer with diffuser; Gold Dust Multi Wand using the micro barrel.


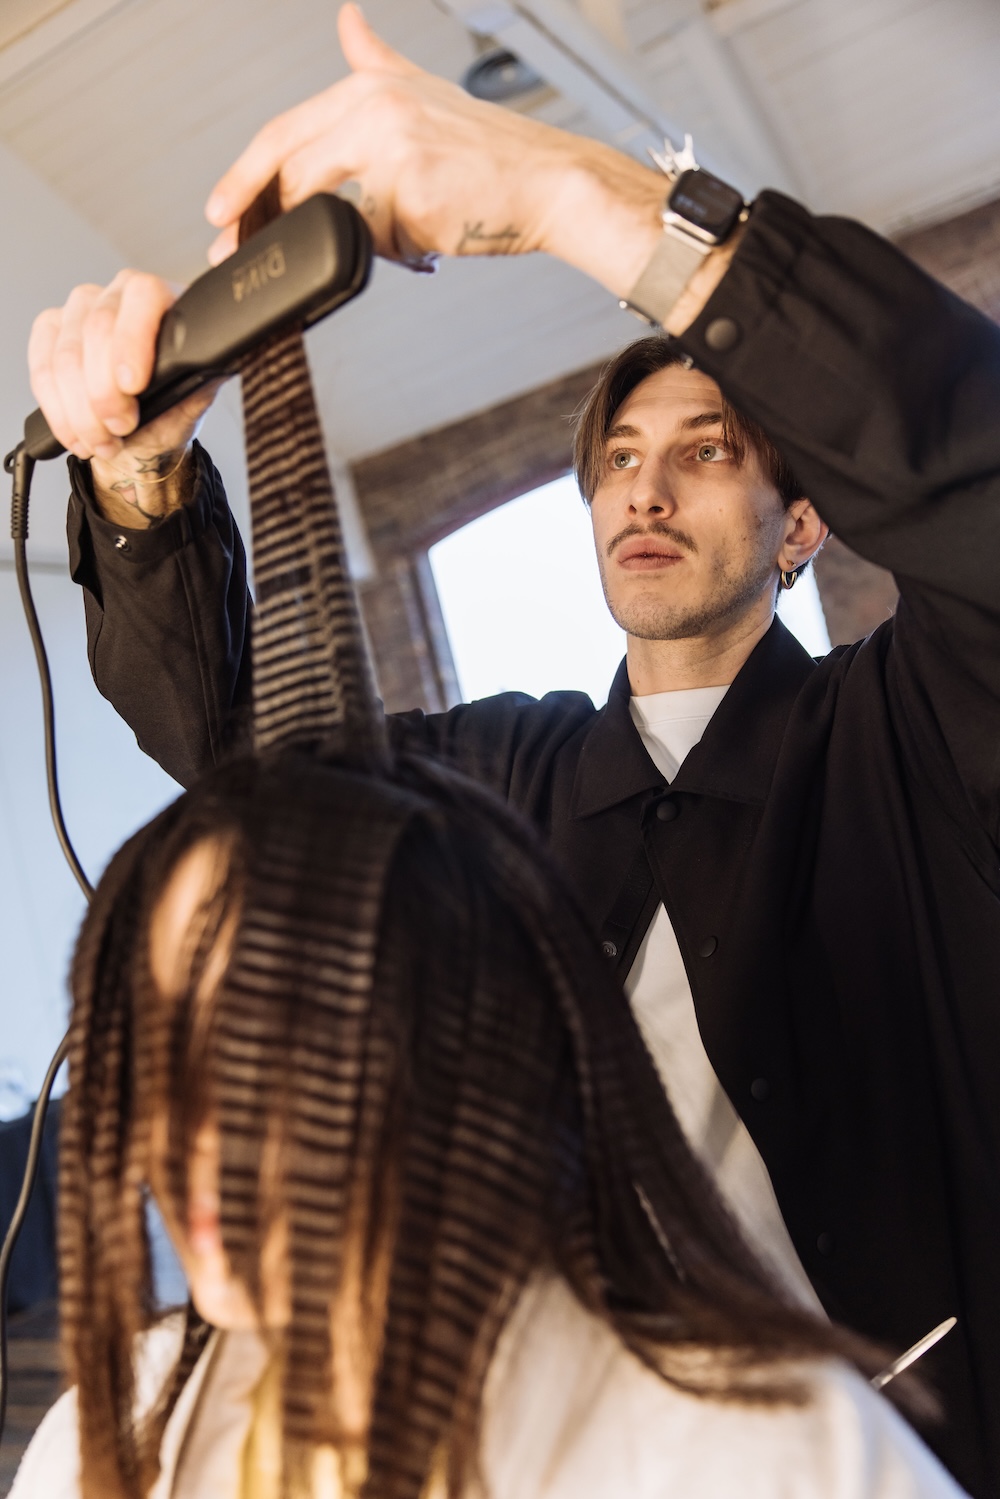
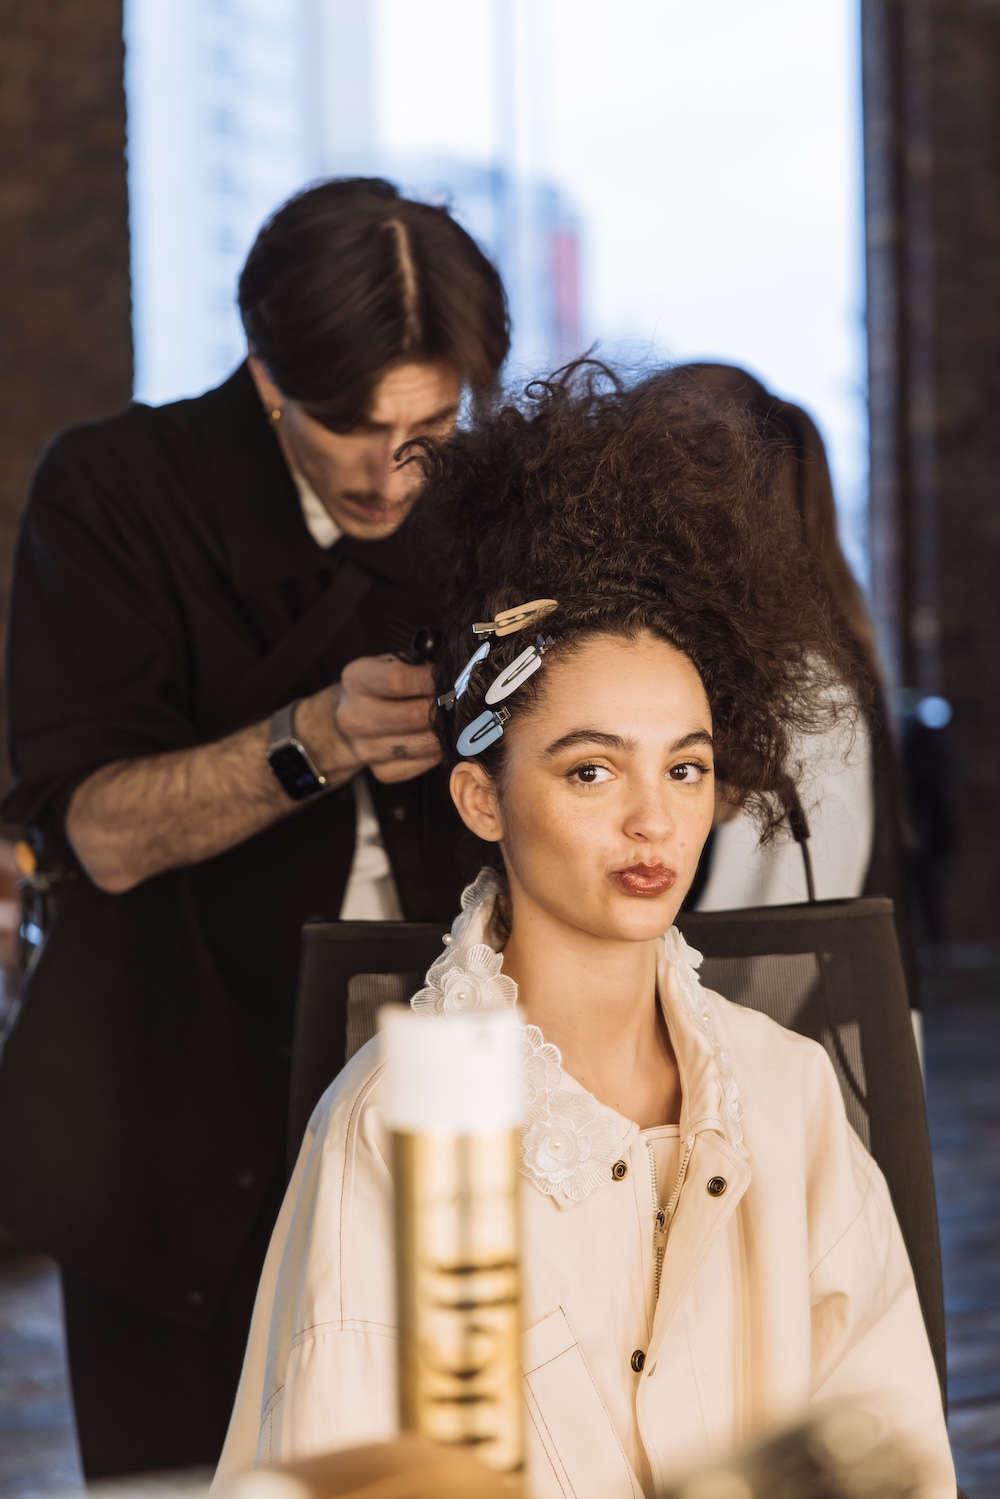
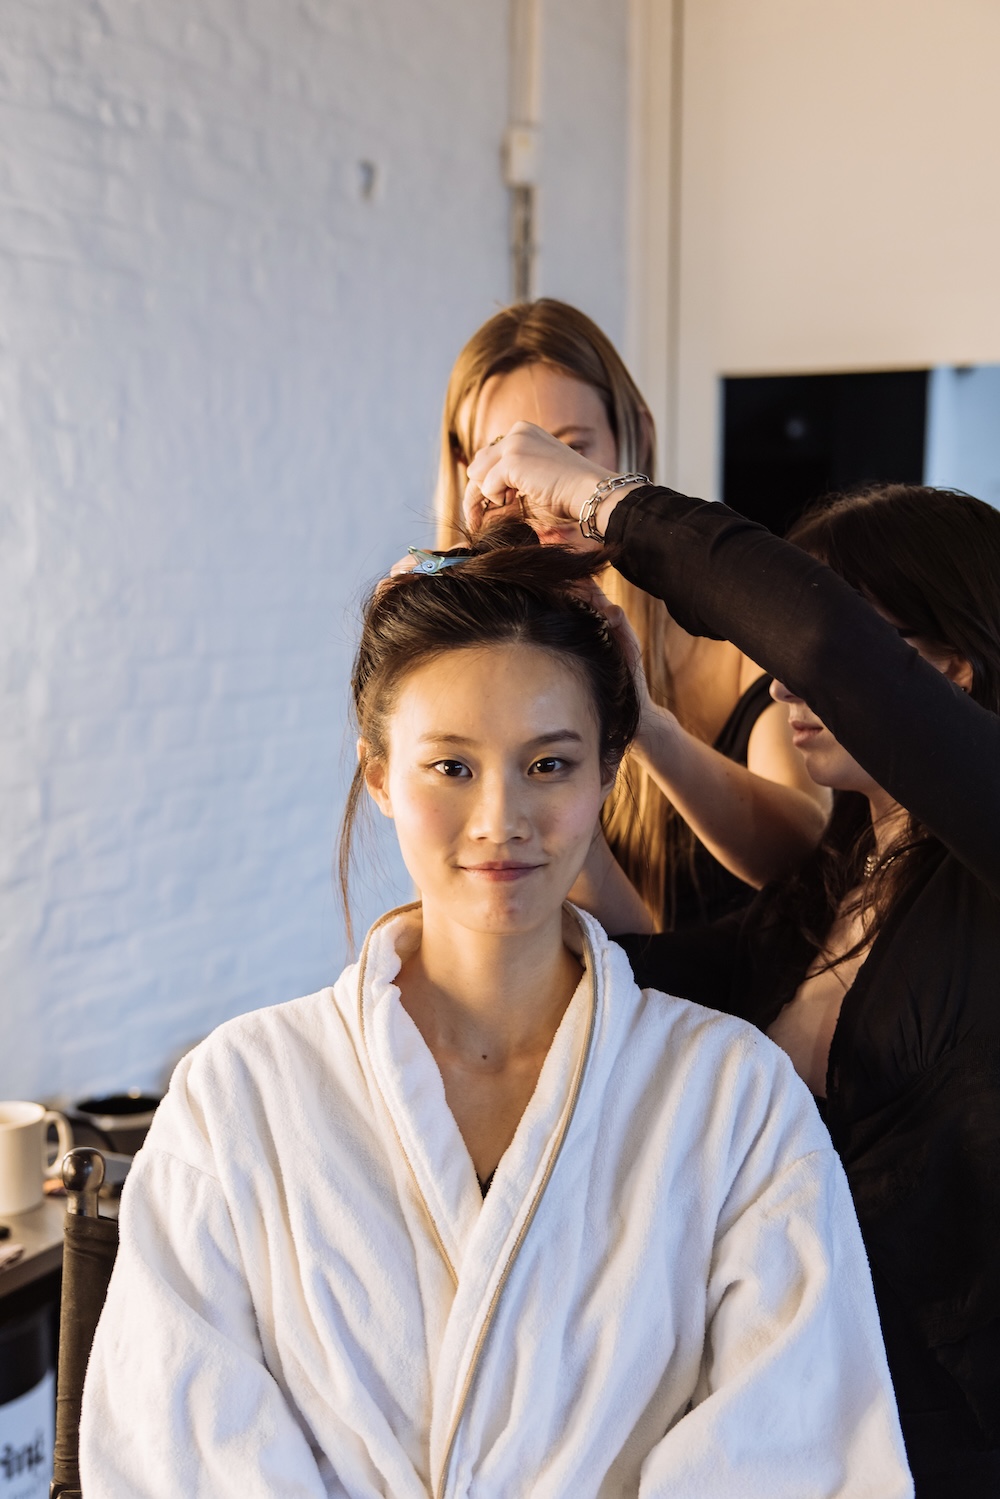
This trend has an air of superiority, an edge that demands that you look but don’t touch. It’s about a deliberate application of care and curation, planned and prepped for the ultimate outcome. Birte Klintworth’s understanding of the brief has amplified this idea of ‘perfection’ beyond the norm. Texture is retained, playful elements are applied but everything is seen through a lens that is altogether editorial and fresh.


his trend has an air of superiority, an edge that demands that you look but don’t touch. It’s about a deliberate application of care and curation, planned and prepped for the ultimate outcome. Birte Klintworth’s understanding of the brief has amplified this idea of ‘perfection’ beyond the norm. Texture is retained, playful elements are applied but everything is seen through a lens that is altogether editorial and fresh.

The Look: Hair was prepped smooth with a strong blow dry, thanks to a round brush and the Diva Professional Atmos 2 Ultra Hair Dryer (“It’s great because it makes the hair super shiny as well”). Using the 25mm Digital Tong (with a little hairspray for hold), Birte took some sections of hair and over the surface used the roundness of the tong but also the clamp to create clearly defined edges. “I don’t want to make them look too busy,” says Birte. “It’s really about placement and visually seeing what makes sense, looking back into the mirror to see how it’s evolving. I’m keeping it very minimal, because that’s going to make it look smoother and pristine.”
The Trick: “I hold the tong horizontally,” says Birte. “I put the tong on top of the hair, and then I bend the hair against the clamp, so on the upper level, there’s going to be a mark, and then on the lower level, you can see the curve of the top.”
The Tools: Diva Professional Atmos 2 Ultra Hair Dryer; Digital Tong in 25”

The Look: Firstly, the hair in the nape zone was blow-dried upwards, then fixed into a pony – tied with an elastic. The sides were dressed with plenty of setting spray and once set, Birte tied the hair sections up and over the existing ponytail. Her last section – the top of the hair – leaving a little bit of a visible parting, is dressed the same way. Twisting the hair up, Birte applied hairspray at the ends, and using the Atmos Professional XXL Styler, straightened them into more definitive spikes.
The Trick: “I prepped the hair with the Atmos Dryer, blow drying from the roots into the direction of my ponytail.”
The Tools: Diva Professional Atmos 2 Ultra Hair Dryer; Atmos Professional 51mm XXL Wide Styler


The Look: Birte tied a ponytail, very smooth and close to the natural shape of Rubi’s head, but with a strip of hair left out in the front. That was dried using the Atmos 2 Ultra Hair Dryer with the diffuser attachment and draped on top of the flatter surface. Birte saturated the hair in the ponytail with a curl cream and then diffused it “so it can really settle and get a nice volume”. Once dry, she used an elastic to tie the hair – creating her own unique sculpture. “I create a little bit of definition in some places,” says Birte. “You can see the curl, but that one piece of elastic is running through and tied in different places.” She then turned to the Micro Stick to define a couple of pieces.
The Trick: “I pick up the natural texture and don’t manipulate it much, using the Micro Stick,” says Birte. “I just want to give it a little more definition.”
The Tools: Diva Professional Atmos 2 Ultra Hair Dryer with diffuser; Micro Stick


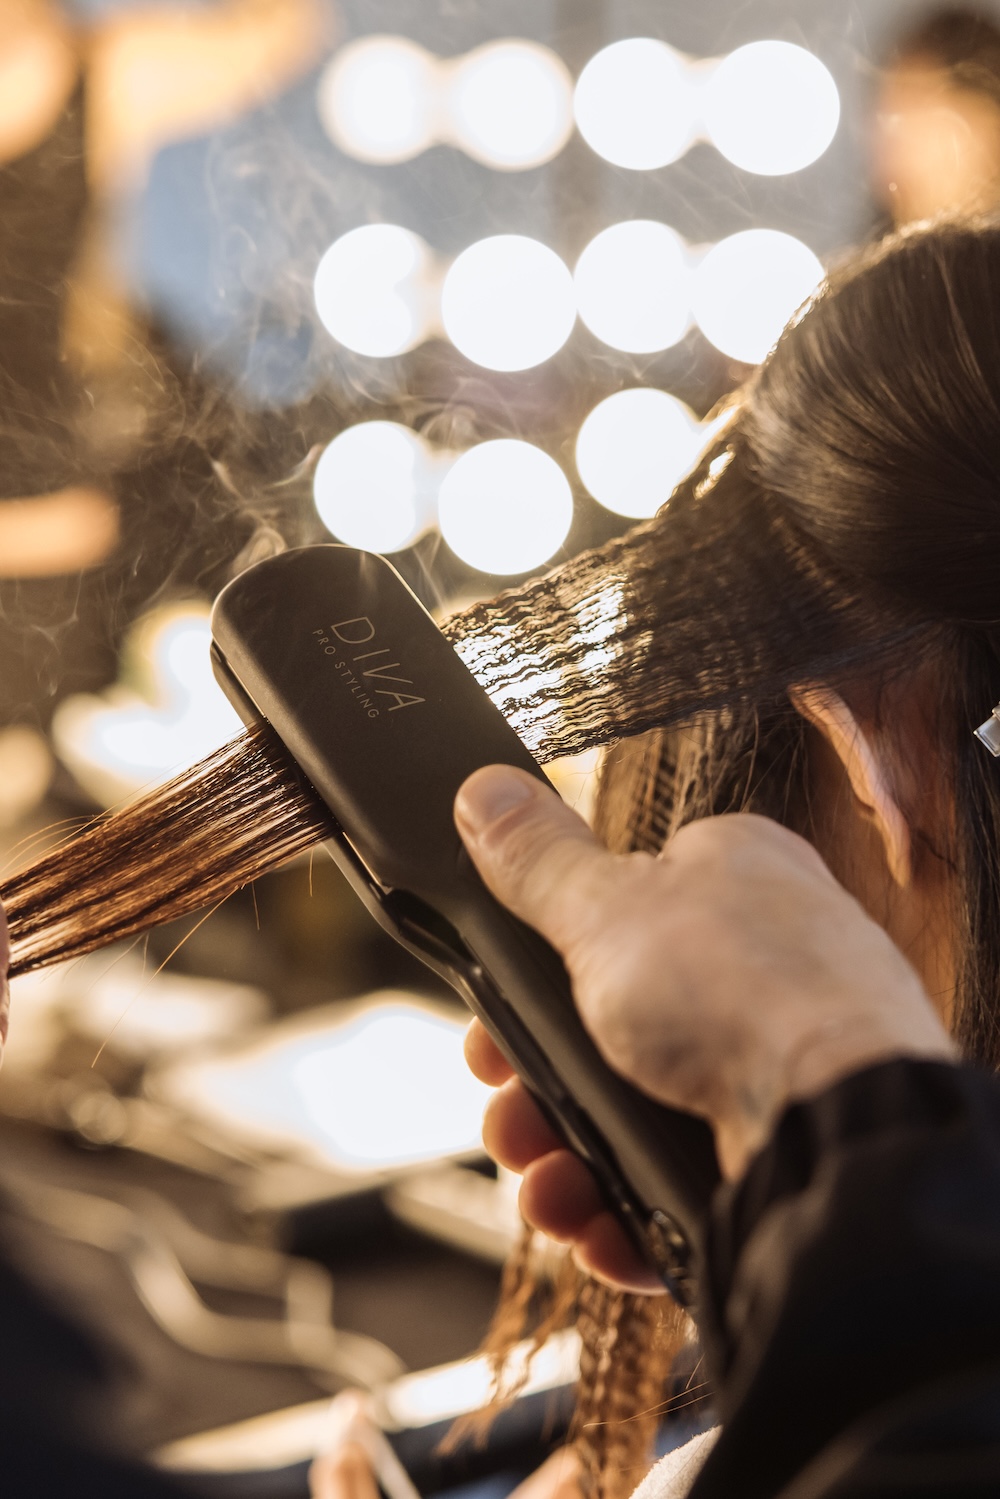

A Creative HEAD shoot in partnership with Diva Pro Styling
Photography: Harvey Williams-Fairley, assisted by Loredana Hrinciuc
Hair: Rebecca Jacques, assisted by Aimee Atkins; Birte Klintworth, assisted by Amber Carpen; Giuseppe Stelitano, assisted by Tiziana Di Marcelli – all for Diva Pro Styling
Key tools: Diva Atmos Professional Styler – XXL Wide 51mm, Wide 42mm and Super Slim 13mm; Atmos 2 Dryer; Atmos 2 Atom Dryer; Atmos Micro Stick; Digital Crimper; Digital Wands
Fashion: Issie Gibbons
Make-up: Eliza Clarke, assisted by Babi Campos
Editorial: Amanda Nottage (Creative HEAD)
Digital and social media: Kelsey Dring (Creative HEAD), Caitlyn Brandom (Creative HEAD), with video editing support from Rux Amarazeanu
Creative direction and production: Joanna Kidd (Creative HEAD)
Models: Rubi Deschamps (W MGMT), Gerda Kazakeviciute (W MGMT), Ping (Named Models)
Shot at Spring Studios in London